Monday, June 21, 2021

16th-17th Century Costume Manuscripts

I've been fascinated for a while with some of the books full of illustrations and engravings from the 16th and 17th century.  Some (Vecellio's comes to mind) are a tad fanciful with depictions of costumes from around the world including natives from the new world.  Many seem a bit more realistic, especially as the locations illustrated near the publication origin.

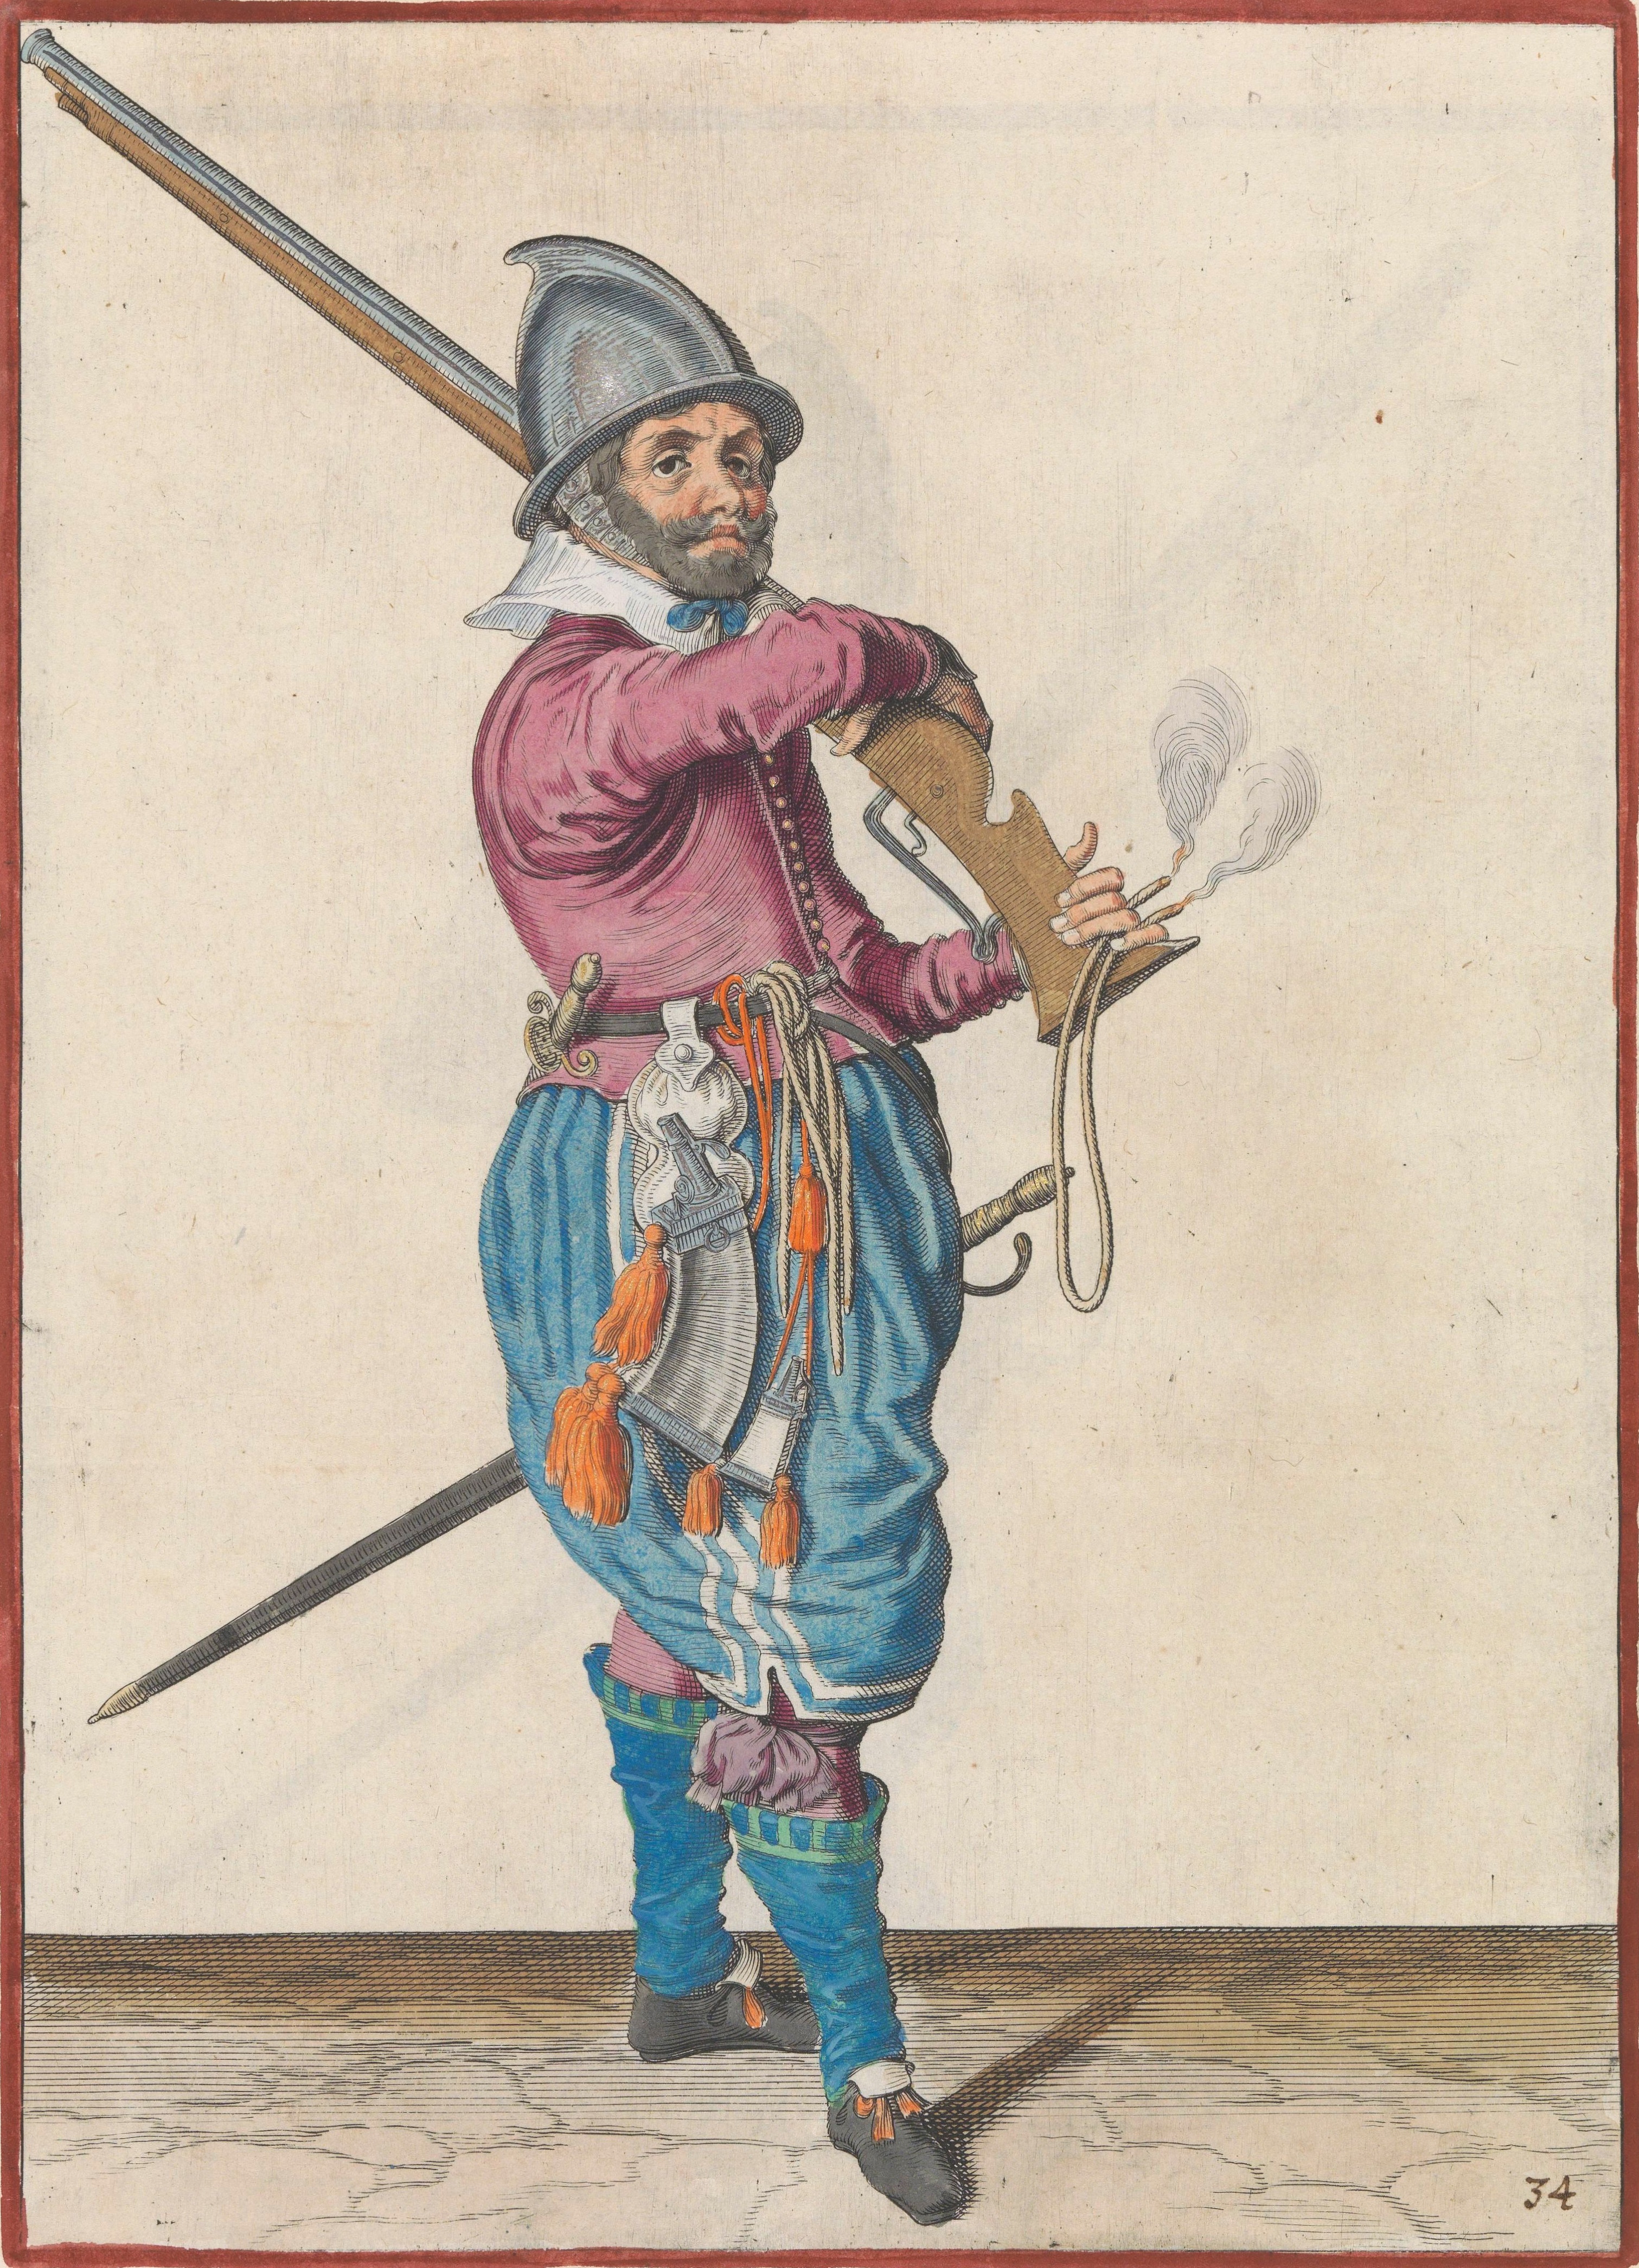
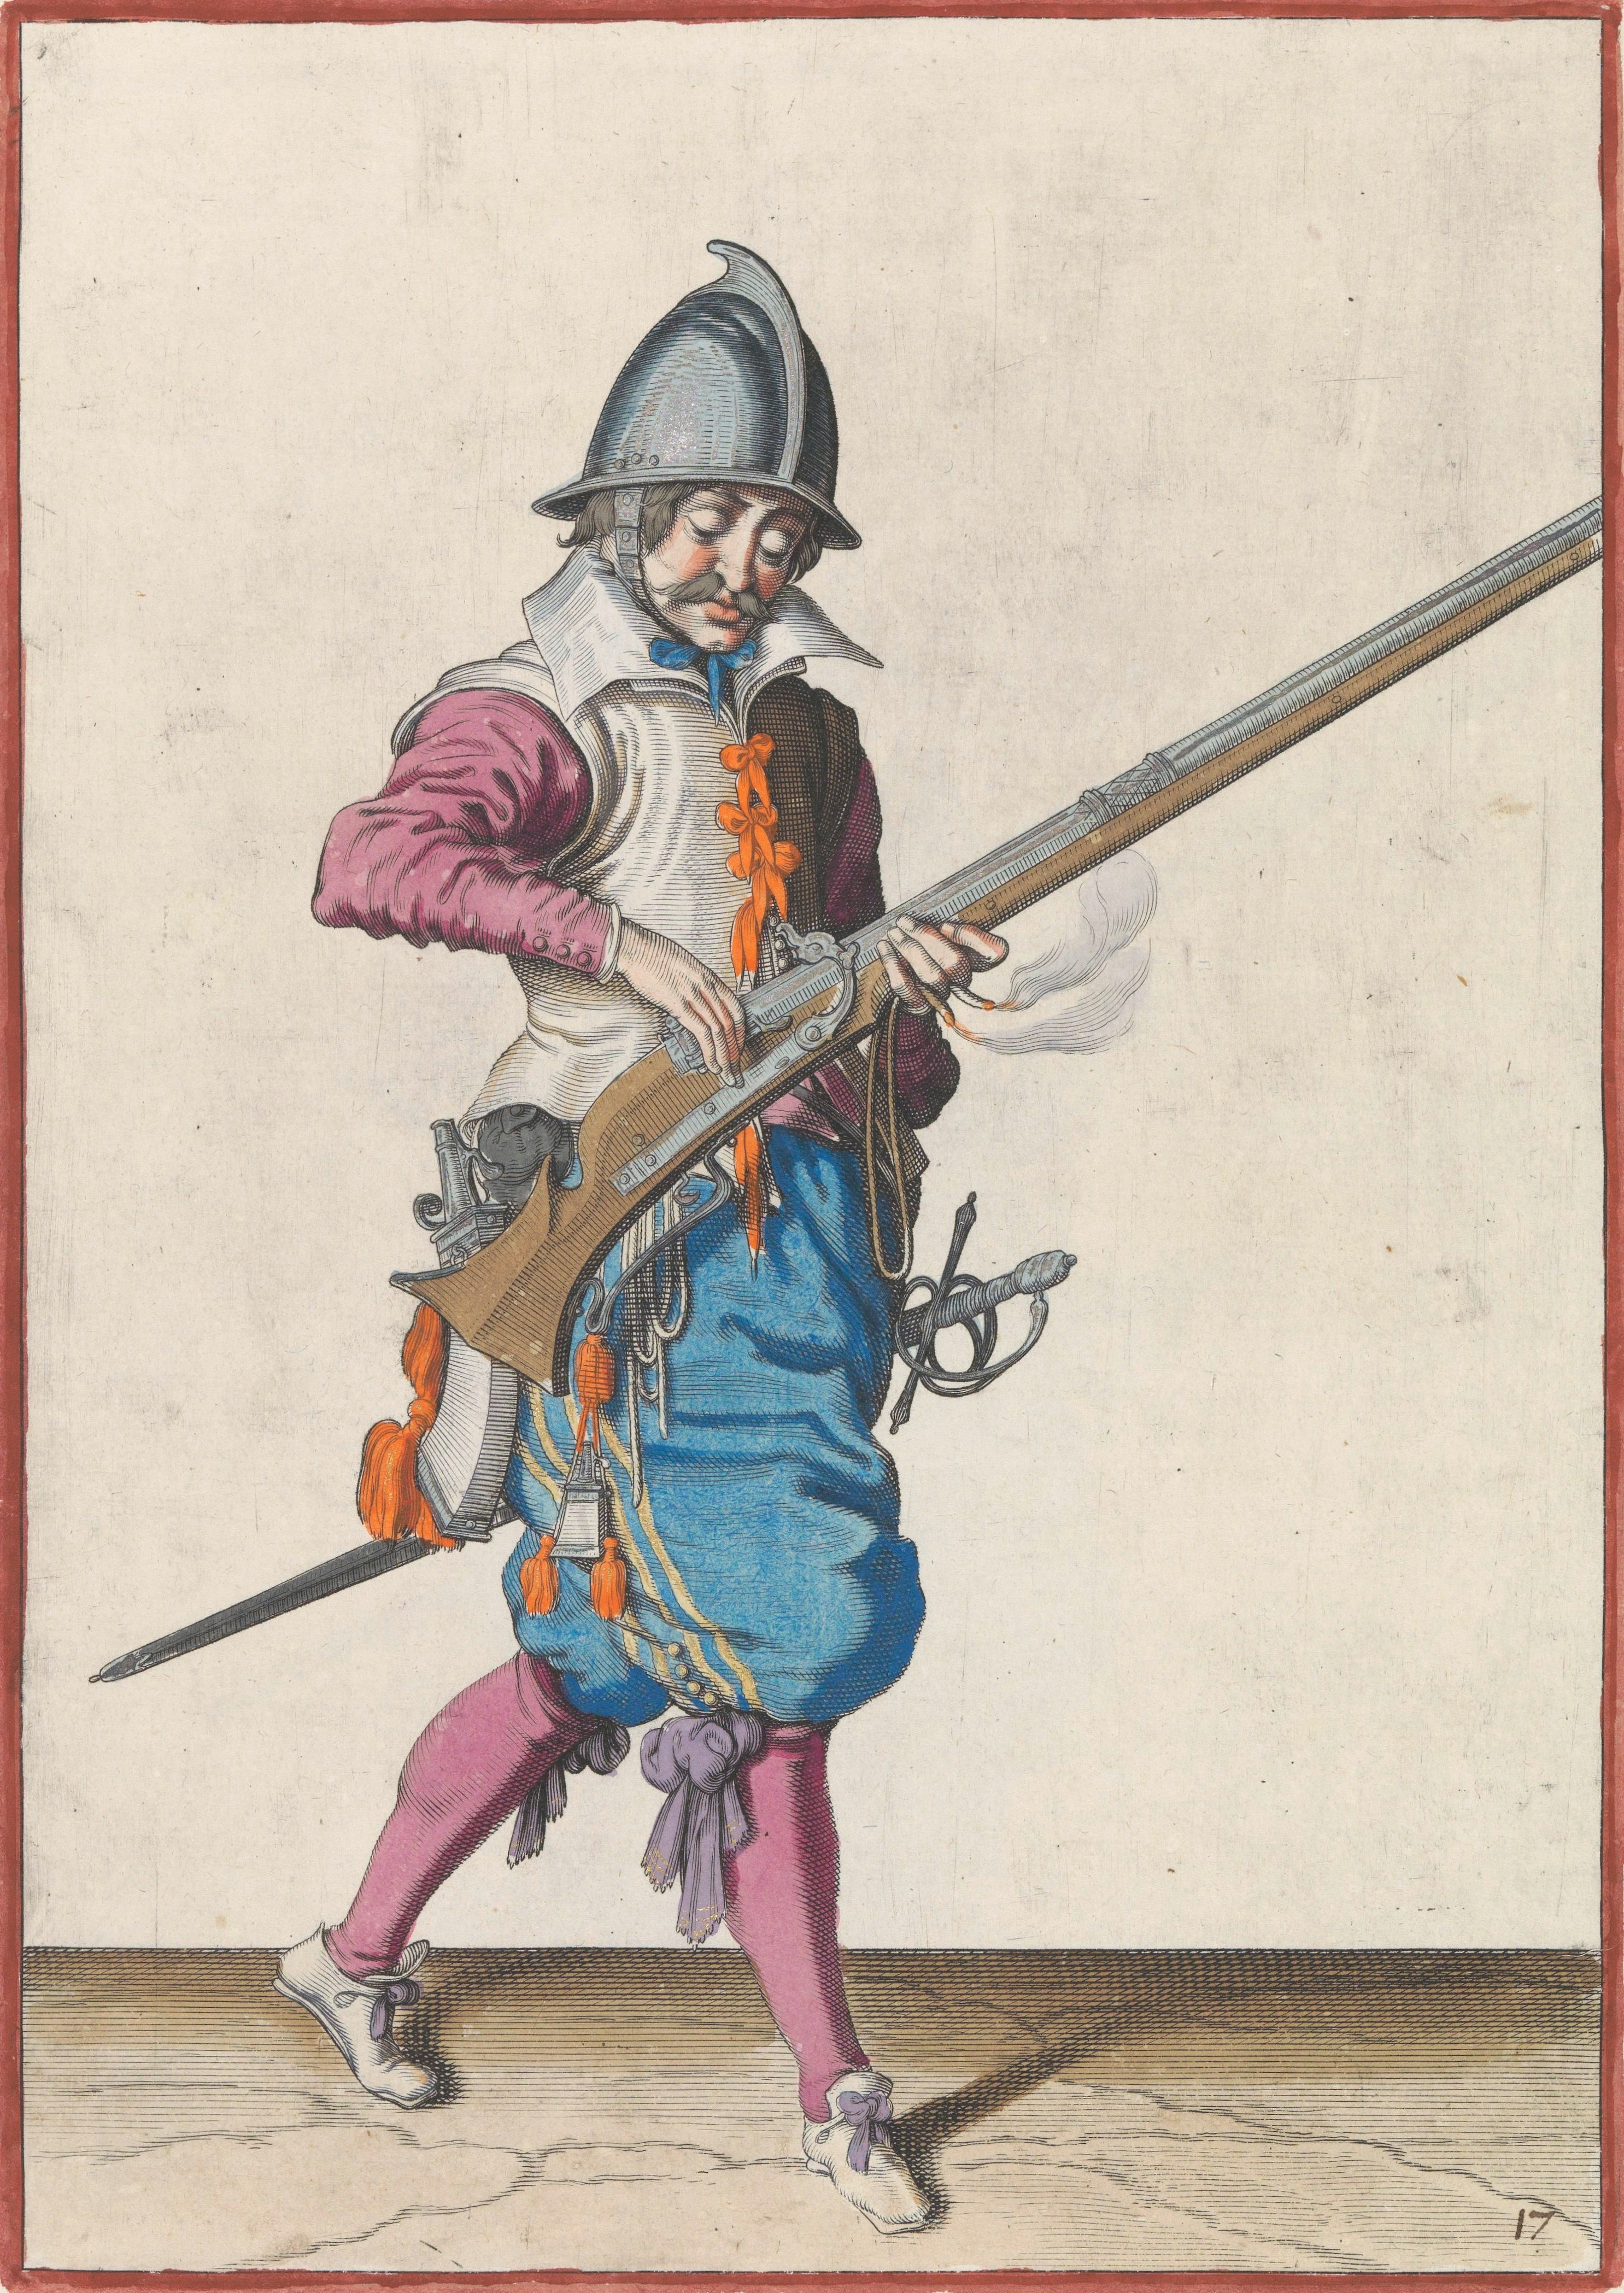
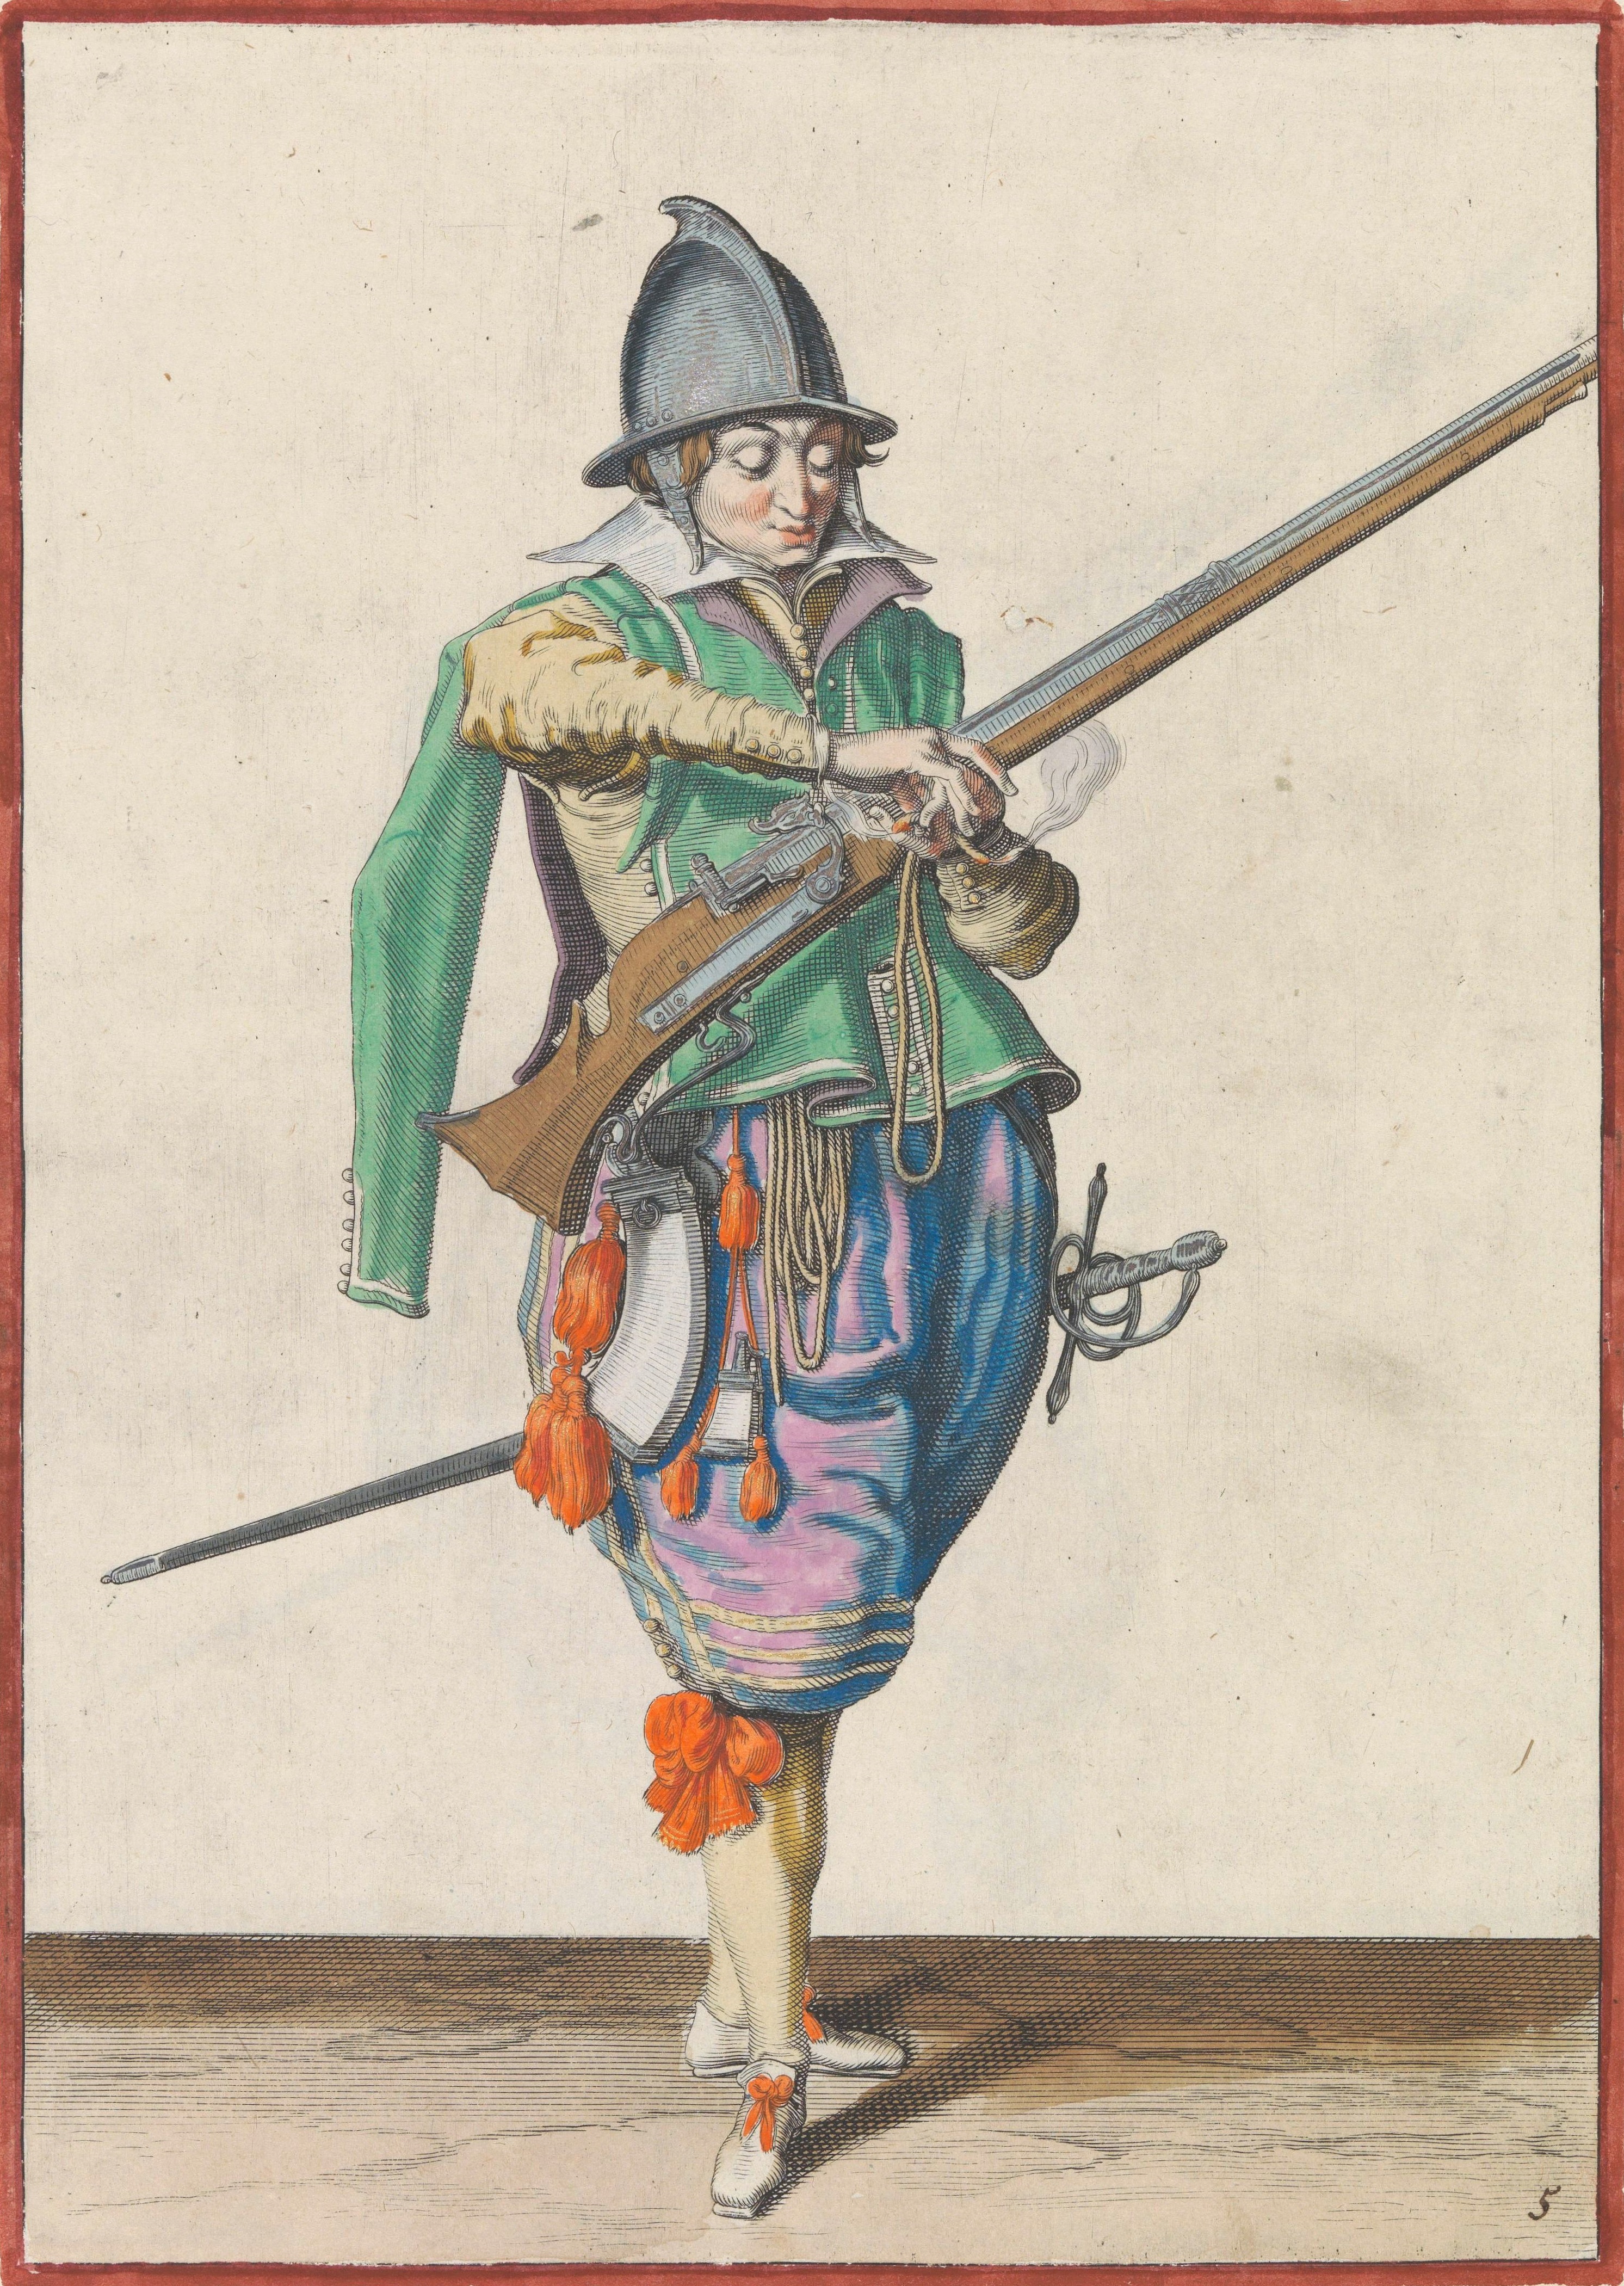
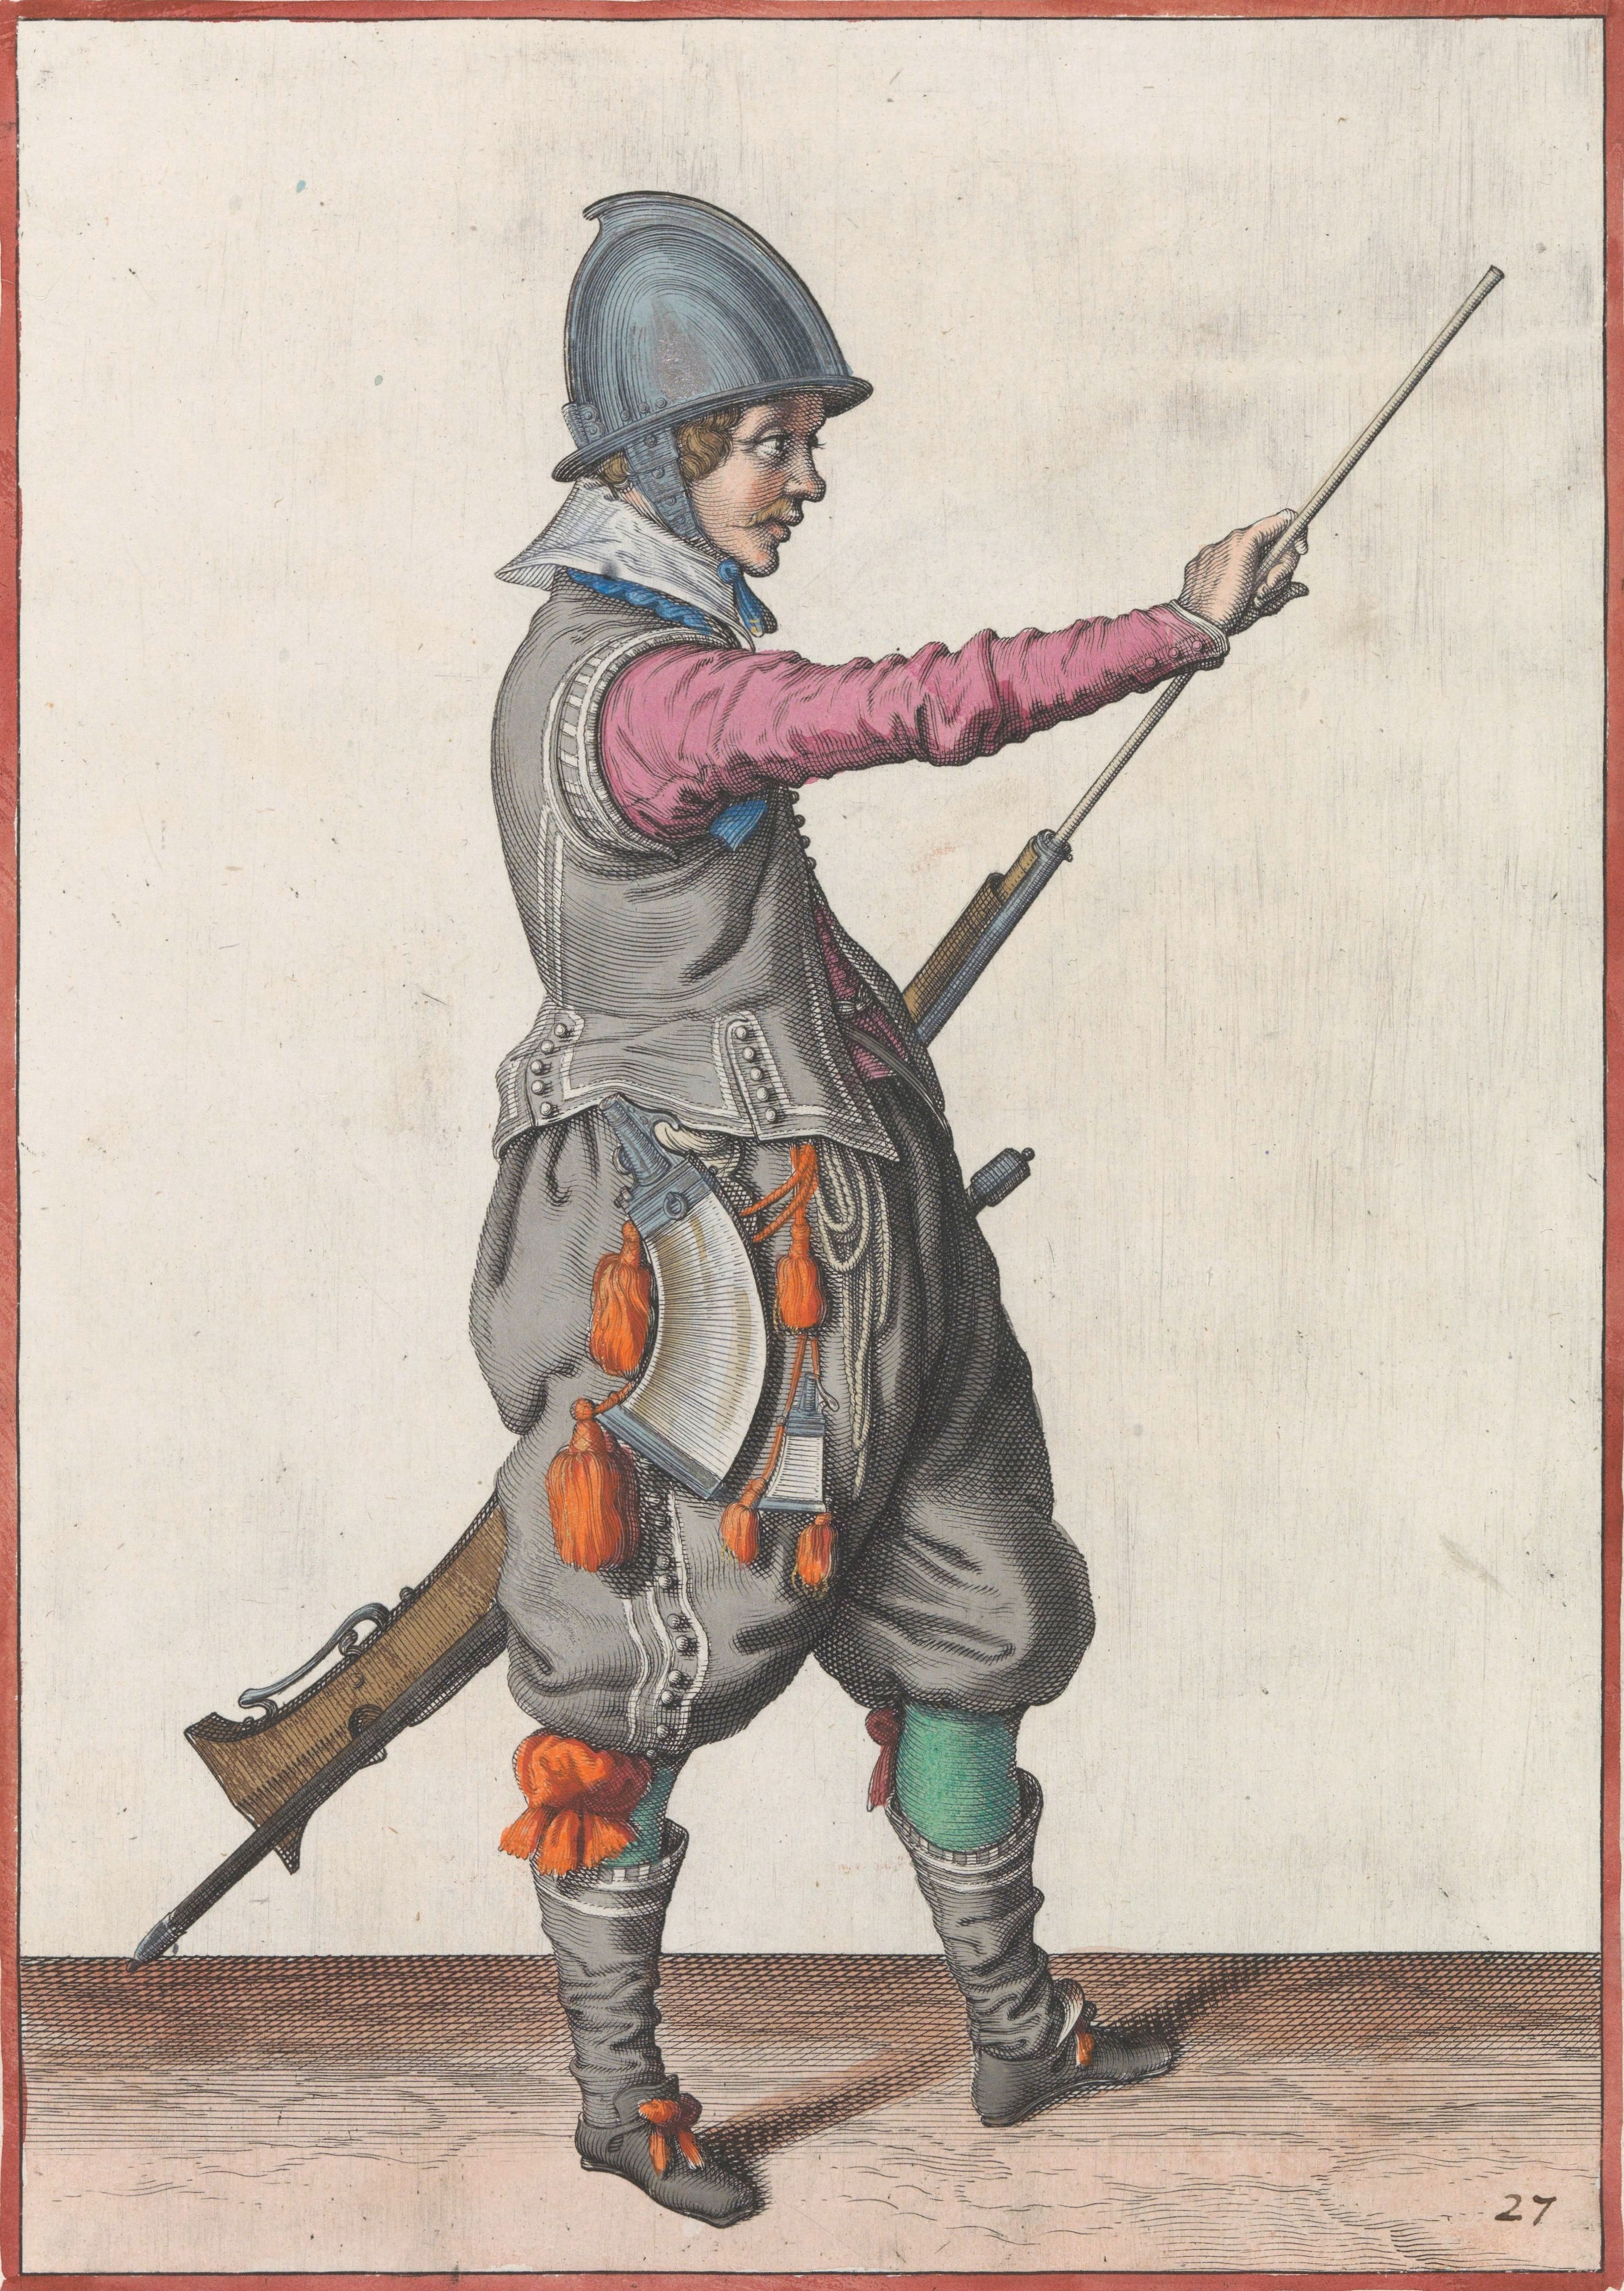
Over the years, I've collected a few of these sources, but never came across any English in origin.  So, I went on a quest to see just how many I could find.  I ended up including more than just costume books.  One of my favorite sources for men's customer is a military manual by Jacob de Gheyn published in 1607 (the engravings were completed in 1598).  I also found some album amicorums that contain several illustrations useful to costume study.

So far, I've found 33 manuscripts that are mostly available on line.  This includes 6 from Italy, 4 from France, 15 from Germany and 8 from the Netherlands area.  Unfortunately, none I've found are English, which was the original reason for my search.  I'm keeping a Pinterest board to collect them all.

Publication Origin - Italian


Publication Origin - Dutch

Publication Origin - French


Publication Origin - German


Even with only limited English images (drawn by those who may or may not have ever visited England), there are a lot of wonderful details to be found in these books.  I've toyed with the idea of building some computer vision models to identify types of garments, but that's more effort than I'm willing to put in just yet.  (maybe soon!) 

Wednesday, November 11, 2020

Summer Breeches

Late this summer, I began a pair of breeches.  The intent is for them to be simple and light-weight for quick and easy SCA garb.  I live in the South Eastern US where summers can be quite hot, so the heat factor really does matter for me.

While linen wasn't used as commonly as I used to think for outer garments, we do know of several surviving linen canvas doublets and the research that Dan Rosen has done shows that linen canvas suits were a thing (at least among early settlers).

My inspiration comes from some de Gheyn engravings.  I wanted to try an open leg cuff, and no fly closure.  If you take deep tucks close to the fly closure, it's supposed to stay closed sufficiently.  If this doesn't work out, I will go back and add a fly flap as seen in the c.1600-1605 Trunkhose, p. 74 PoF4.  


The extant canvas doublets are all unbleached / uncolored, and I wanted the same look.  However, I chose to not use an actual linen canvas (Hemp Traders has some nice ones, starting around 10-11oz), but went with something slightly lighter and looser weave that should give close the the right look (here's what I used).

For the pattern, I used the Bara tape method and followed the Burguen/Anduxar 1618-1640 - Calcon/Breeches pattern from Mathew Gnagy's Modern Maker Vol. 2 book.

These pants are entirely hand-sewn.  I find hand sewing to be relaxing, but it does take a bit longer (I'm not fast).  I decided to try making the breeches unlined.  It changes the construction process a bit as I needed to deal with the raw edges.  I mostly handled this by cutting a generous seam, then rolling the edge under when top stitching.  For the leg openings, I got a little bit fancy and used a silk interfacing to finish the edges, because there is a slight curve to the cuffs that I didn't think would do well double rolled.

Besides this, the construction and assembly were fairly straight forward, except for one step.  I found myself obsessing over how to connect the waistband to the pants.  

For skirts, I have traditionally taken a finished waistband and whipped or otherwise sewn the skirt body  to the waistband at the lower edge (sometimes with an extra strip of wool in the top of the skirt to pad the pleats).  This has the advantage of creating a single hinge point, which seemed to help spread the gathers out instead of flattening them. (A)

For pants, I have traditionally used the sandwich technique in which the raw edges of the pant legs are gathered, then sewn between the waistband and waistband lining. (B)

In trying to find historical examples, PoF was difficult to make out details, but 17th Century Men's Dress Patterns has details about the pants from the Cotton suit.  For these pants, the pants lining continues to the top of the waistband where both the lining and the waistband are finished with a woven tape. (C)

If I translate this to having no lining, it's likely to be the sandwich technique, but with a woven tape on top. I might offset the bottom of the waistband lining a little to reduce the thickness at that point. (D)

Here's my quick attempt to sketch these out.

I tried method B as it was the quickest and the waistband pattern I used included seam allowance.  However, the seams end up quite thick and I realized that it's really hard to sew eyelets or button holes through all that turned under seam allowance.

After the first try-on, it was clear that a few adjustments were needed.  The front opening was huge, the pockets a little too low and very large openings, plus the leg cuffs were open too far and rather large.

initial fitting Close up of thick waist seams

So, I re-sewed the waist (method D, except I couldn't really offset the bottom waist seam), using another strip of the same silk I used for the cuffs.  It was much easier to make the eyelets and I'm happy with the final result, even if the silk edging isn't completely even on both sides (note to future self: this is what happens when you are too lazy to mark the seam line and just wing it!) 

I also closed up the front opening, pockets and legs.  Here's the finished product.  I made a make-shift bum roll to see what the pants look like with a little padding around the waist.  Can you tell the difference?

close up of improved waist pic of imporved waist
final pants with bum roll final pants with no roll

The profile looks better and I no longer have the odd flare at the knees!

To continue the idea of summer wear, I'm hoping to move on to a simple linen cassock or coat as the next garment I make.  The jerkins shown here seem to be semi-fitted with no waist seam.  The one with green sleeves appears to be an even looser fit and I would commonly consider it a cassock, but the different garments could all be related.


Stamped Wall Hanging

We were recently asked to host a very small, outdoor gathering for the SCA.  We realized that we don't actually have any interesting and appropriate wall hangings or decorations. I've been following a facebook group for Printed Textiles in the Middle Ages and decided this was a good opportunity to try something.  We also decided to go BIG.

By order of the Queen, the inspiration for the event was Alcazar de Segovia, a castle in Spain. There are some very interesting wall paintings and tiles, but some of them would virtually vibrate if used in a Zoom call.  The hubby and I really liked some small, red, interwoven designs that are found in some alcoves off the armor room (Velacio Viejo o Sala Ajimeces).

The originals were clearly hand painted, with great little details.  We didn't have a lot of time to pull this off and were going for an "inspired by" look instead of a strict re-creation.  I drafted a simplified version of the first and third patterns that could be made into a repeatable stamp pattern.  The base repeating block is 9" x 9" with the border being 18" long.  We used thick craft foam sheets to make the stamps. Percy did most of the cutting using exacto knives and we glued them together with a hot glue gun.


We used regular matte house paint on cotton drop clothes from the local hardware store.  The largest drop cloth is a little less than 9 ft x 12 ft, with a seam up the middle. This was our first attempt at any sort of block printing, so we took some time to do some test stamps before moving onto the large, final version.

Here are some close-ups of the different designs, plus a look at the almost final version.  Yes, that is a car (our mini-van) behind the cloth in the final picture.

This ended up being a joint effort with the hubby and myself.  Our 6 year old also really got into it and spent at least an hour stamping on our test cloth.  I estimate 2 hrs design time, 2 hrs making the stamps, and 4 hrs stamping (not including the test stamping).  It was a little bit back-breaking, but easy to see progress, so, all in all, a good project.

We managed to find time to go back and fill in the corners of the border.  Here are some pictures of it in use.


I'd still like to add the arched border across the top, but we have a workable decorated cloth for now.

Monday, June 22, 2020

Wheel Buttons

My dear husband came across this portrait and shared it with me. It's dated to after 1560 and shows a fairly typical for the period, black on black male outfit.


BUT, check out the buttons!  There are three openings in the front, and all have buttons.


When you zoom in, the buttons seem to be a flat, open, woven wheel.  This is the first example of this type of button I've seen in this time period.  Now, I shall try to make some.


To make this type of button, you must have a closed ring.  I got some knitting markers in two sizes to start with. 

My first attempt (in gold) used cotton perl and 8 spokes.  8 or more spokes was common when this type of button was popular in the 17th-18th centuries. 

However, the portrait shows 6 spokes.  So, for my second attempt (light grey), I used a heavier weight cotton perl, thinking that a heavier thread might be easier to do fewer spokes.

The third and final attempt (grey) of the evening uses the smaller ring size and a buttonhole silk.

These were fairly easy to make and there are videos available if you want to try one yourself.

Now, I'm not as familiar with the history of buttons as some, but this type of button is commonly known today as a Dorset ring button.  However, the Dorset button industry (supposedly) started after 1622 when Abraham Case returned from fighting in Europe where he was introduced button making.  If true, this implies that these techniques were already known in Europe before 1620.  So, that would make the buttons in this portrait the predecessor of what we know today as the Dorset ring button.  It's definitely the earliest I've seen this type of button.  Pretty cool!

Living a Colorful Life

Pandemic life has been interesting to say the least.  The first month or two, I was doing a pretty good job of coming up with fun things to do with the kids.  Somehow, I got to explaining dying to my 6 yr old.  She was really interested, so we decided do some.

To keep it simple, I bought a kit.  We did indigo first.  We were able to get 3 rounds out of a single dye bath.  The cool thing with indigo is that the dye looks pale yellow until exposed to air.  We had a nice little lesson about oxidation.  It was really awesome to watch the color develop.


After the indigo, we tried madder, logwood, and hibiscus.  The indigo was by far the most fun and gave the best color.


Here's a look at the finished products.


I wanted to show off the different shades of indigo from the 3 runs, so I knit up a small purse based on a 14th c. Egyptian embroidery pattern.


Saturday, February 22, 2020

MBCBPB

I'm making buttonholes for a doublet following the instructions in The Modern Maker.  I never really had anyone teach me how to make a button hole, so I used to just whip the cut edge with a simple buttonhold/blanket stitch.

I love the addition of the basting as it really does help hold everything together.  And, Gnagy's method really does make for a stronger button hole, but it's got a lot of steps.  So, here's my abreviated version, to help me remember.

M - Mark the button holes
B - Baste around the button holes
C - Cut the buttonholes open (using a cutter/punch helps)
B - Blanket stitch the raw edges
P - Pad stitch around to reduce stretch
B - Buttonhole stitch in the finish thread

Bunches of Buttons

What do you call a collection of buttons?  Is it a bungle of buttons?  A group of buttons?  I'm not sure, but I'm going with a bunch of buttons.

I've been busily making bunches of buttons in preparation for the workshop I'll be teaching in June, and the gold doublet that I'm trying to finish.

Here are a few pics of recent buttons.  Mostly experiments with different types and weights of thread/cord in an even-weave button.


And the finished bunch of buttonhole buttons for the gold doublet.


Renaissance Pattern Books

Reminder to self: always run a complete search before diving down the rabbit hole to research something.  I started a list of 15th-17th cent...