Late this summer, I began a pair of breeches. The intent is for them to be simple and light-weight for quick and easy SCA garb. I live in the South Eastern US where summers can be quite hot, so the heat factor really does matter for me.
While linen wasn't used as commonly as I used to think for outer garments, we do know of several surviving linen canvas doublets and the research that Dan Rosen has done shows that linen canvas suits were a thing (at least among early settlers).
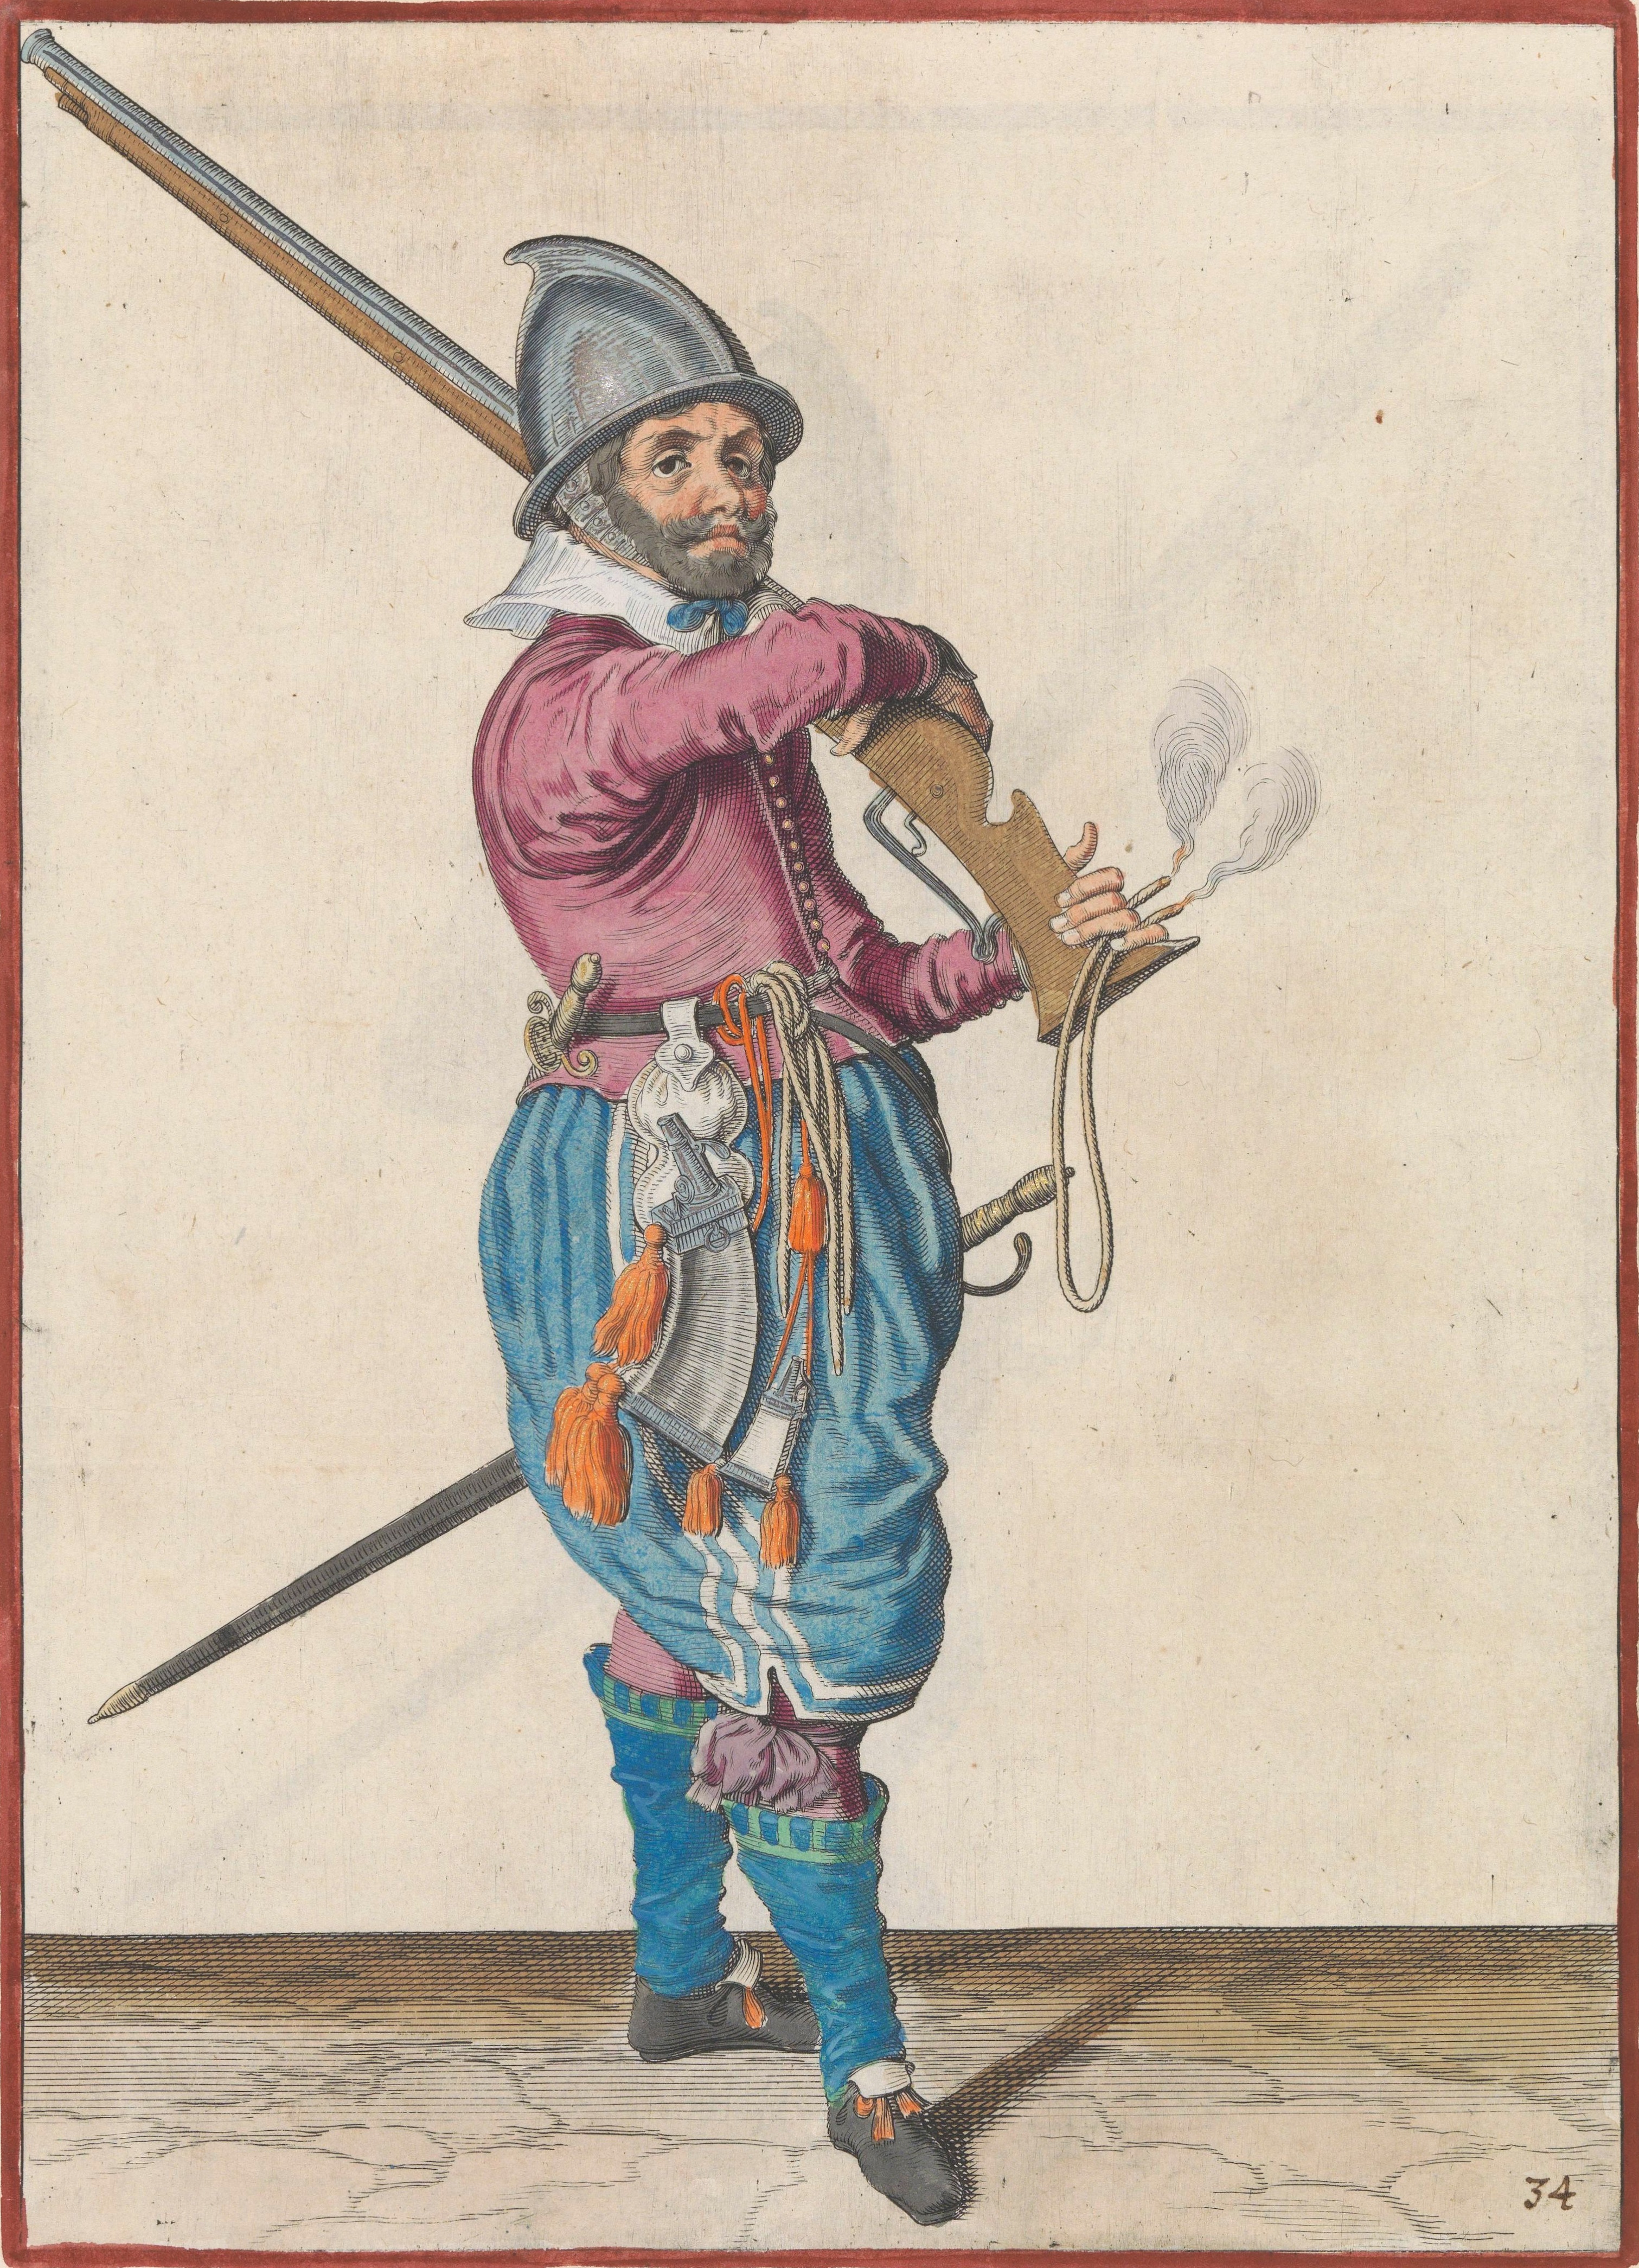
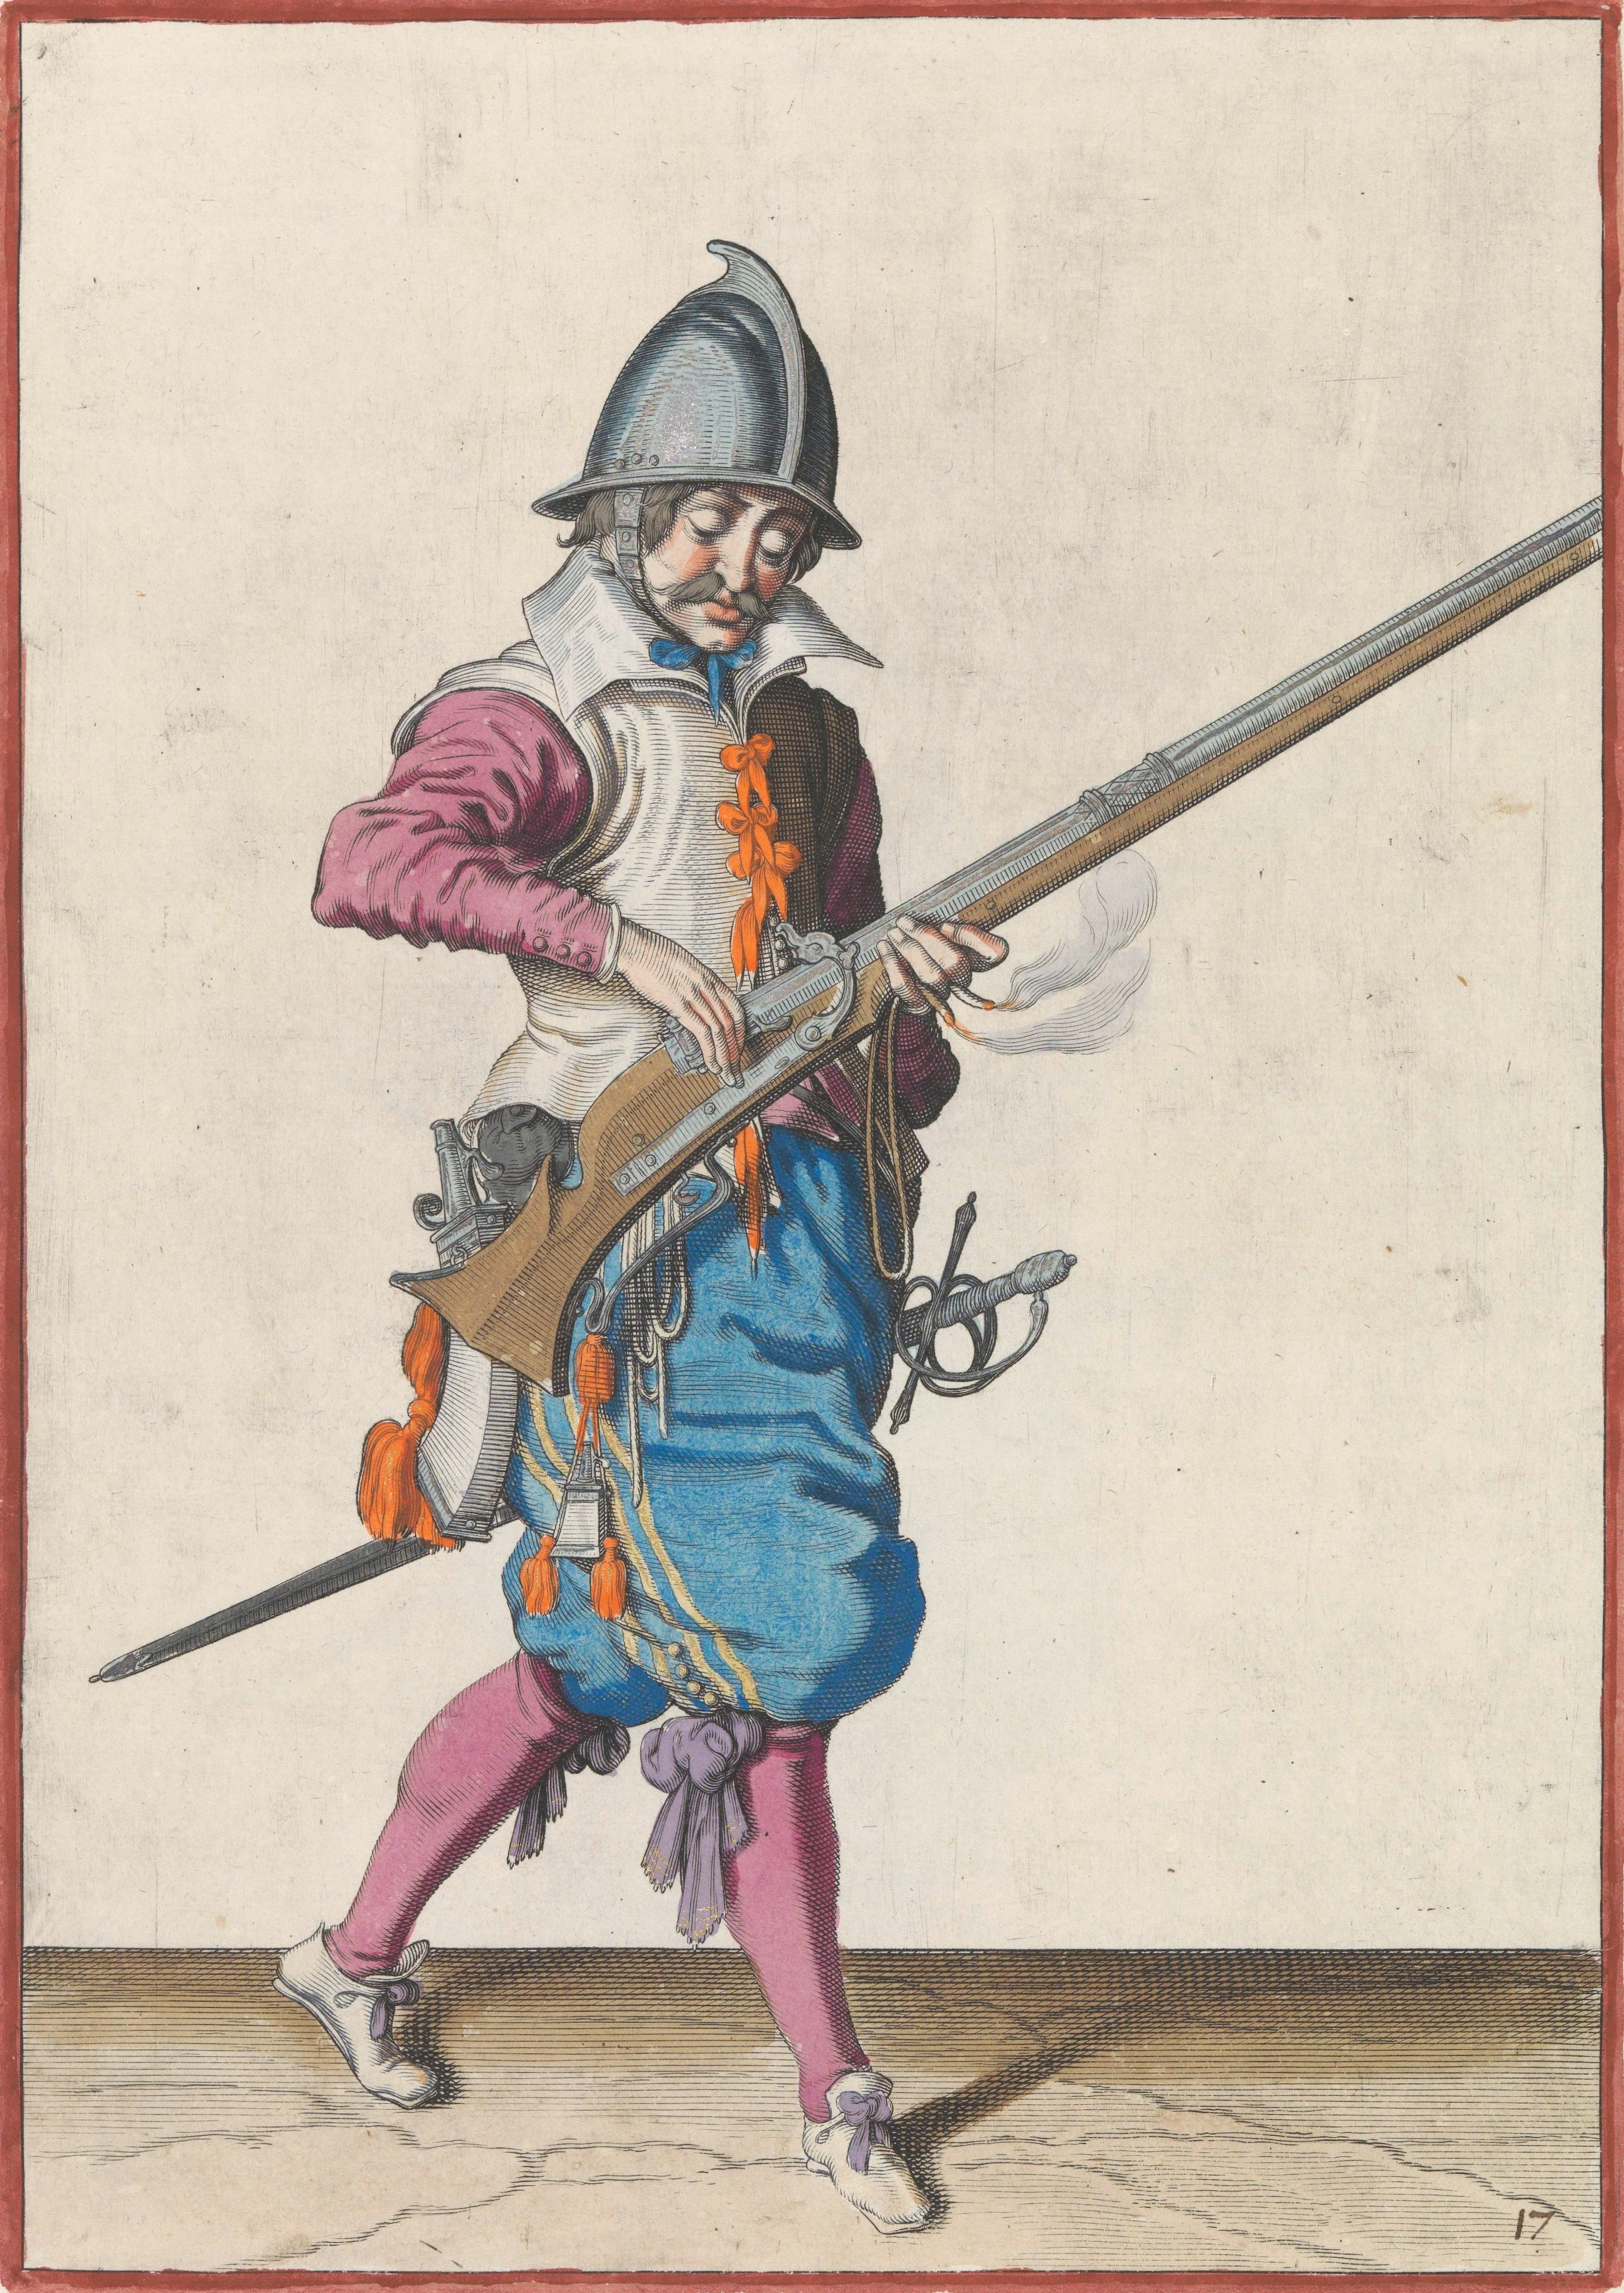
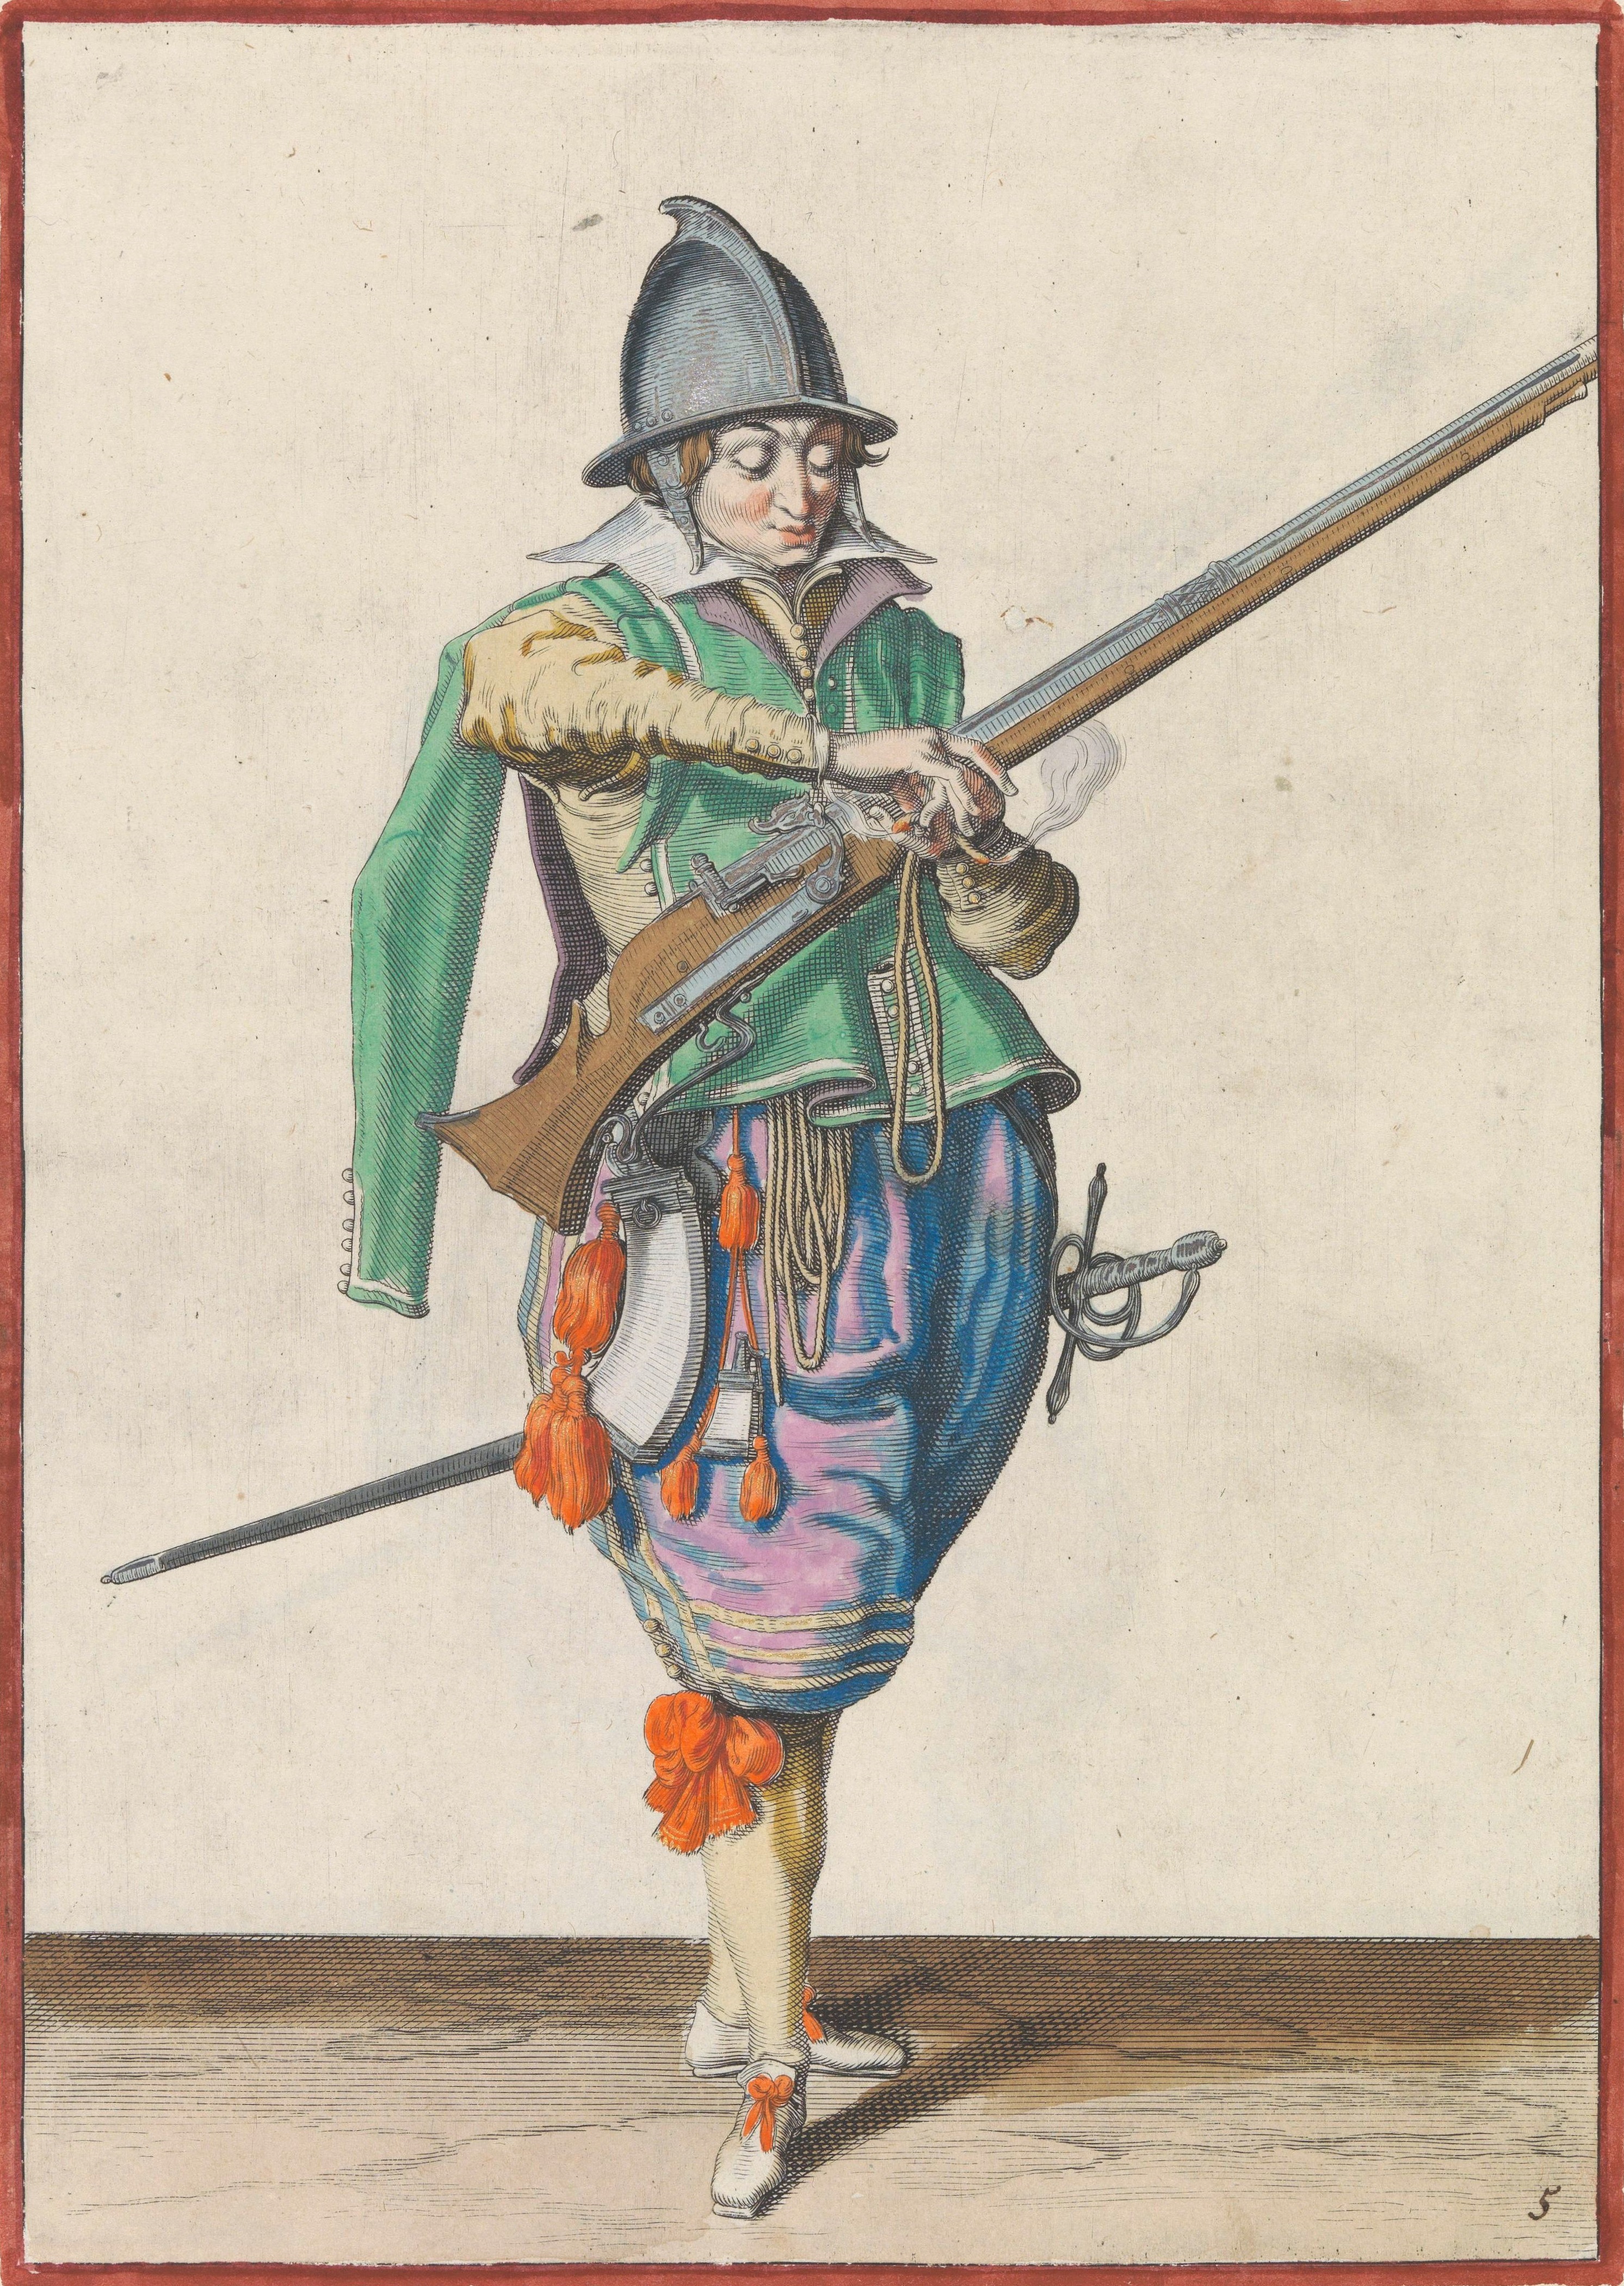
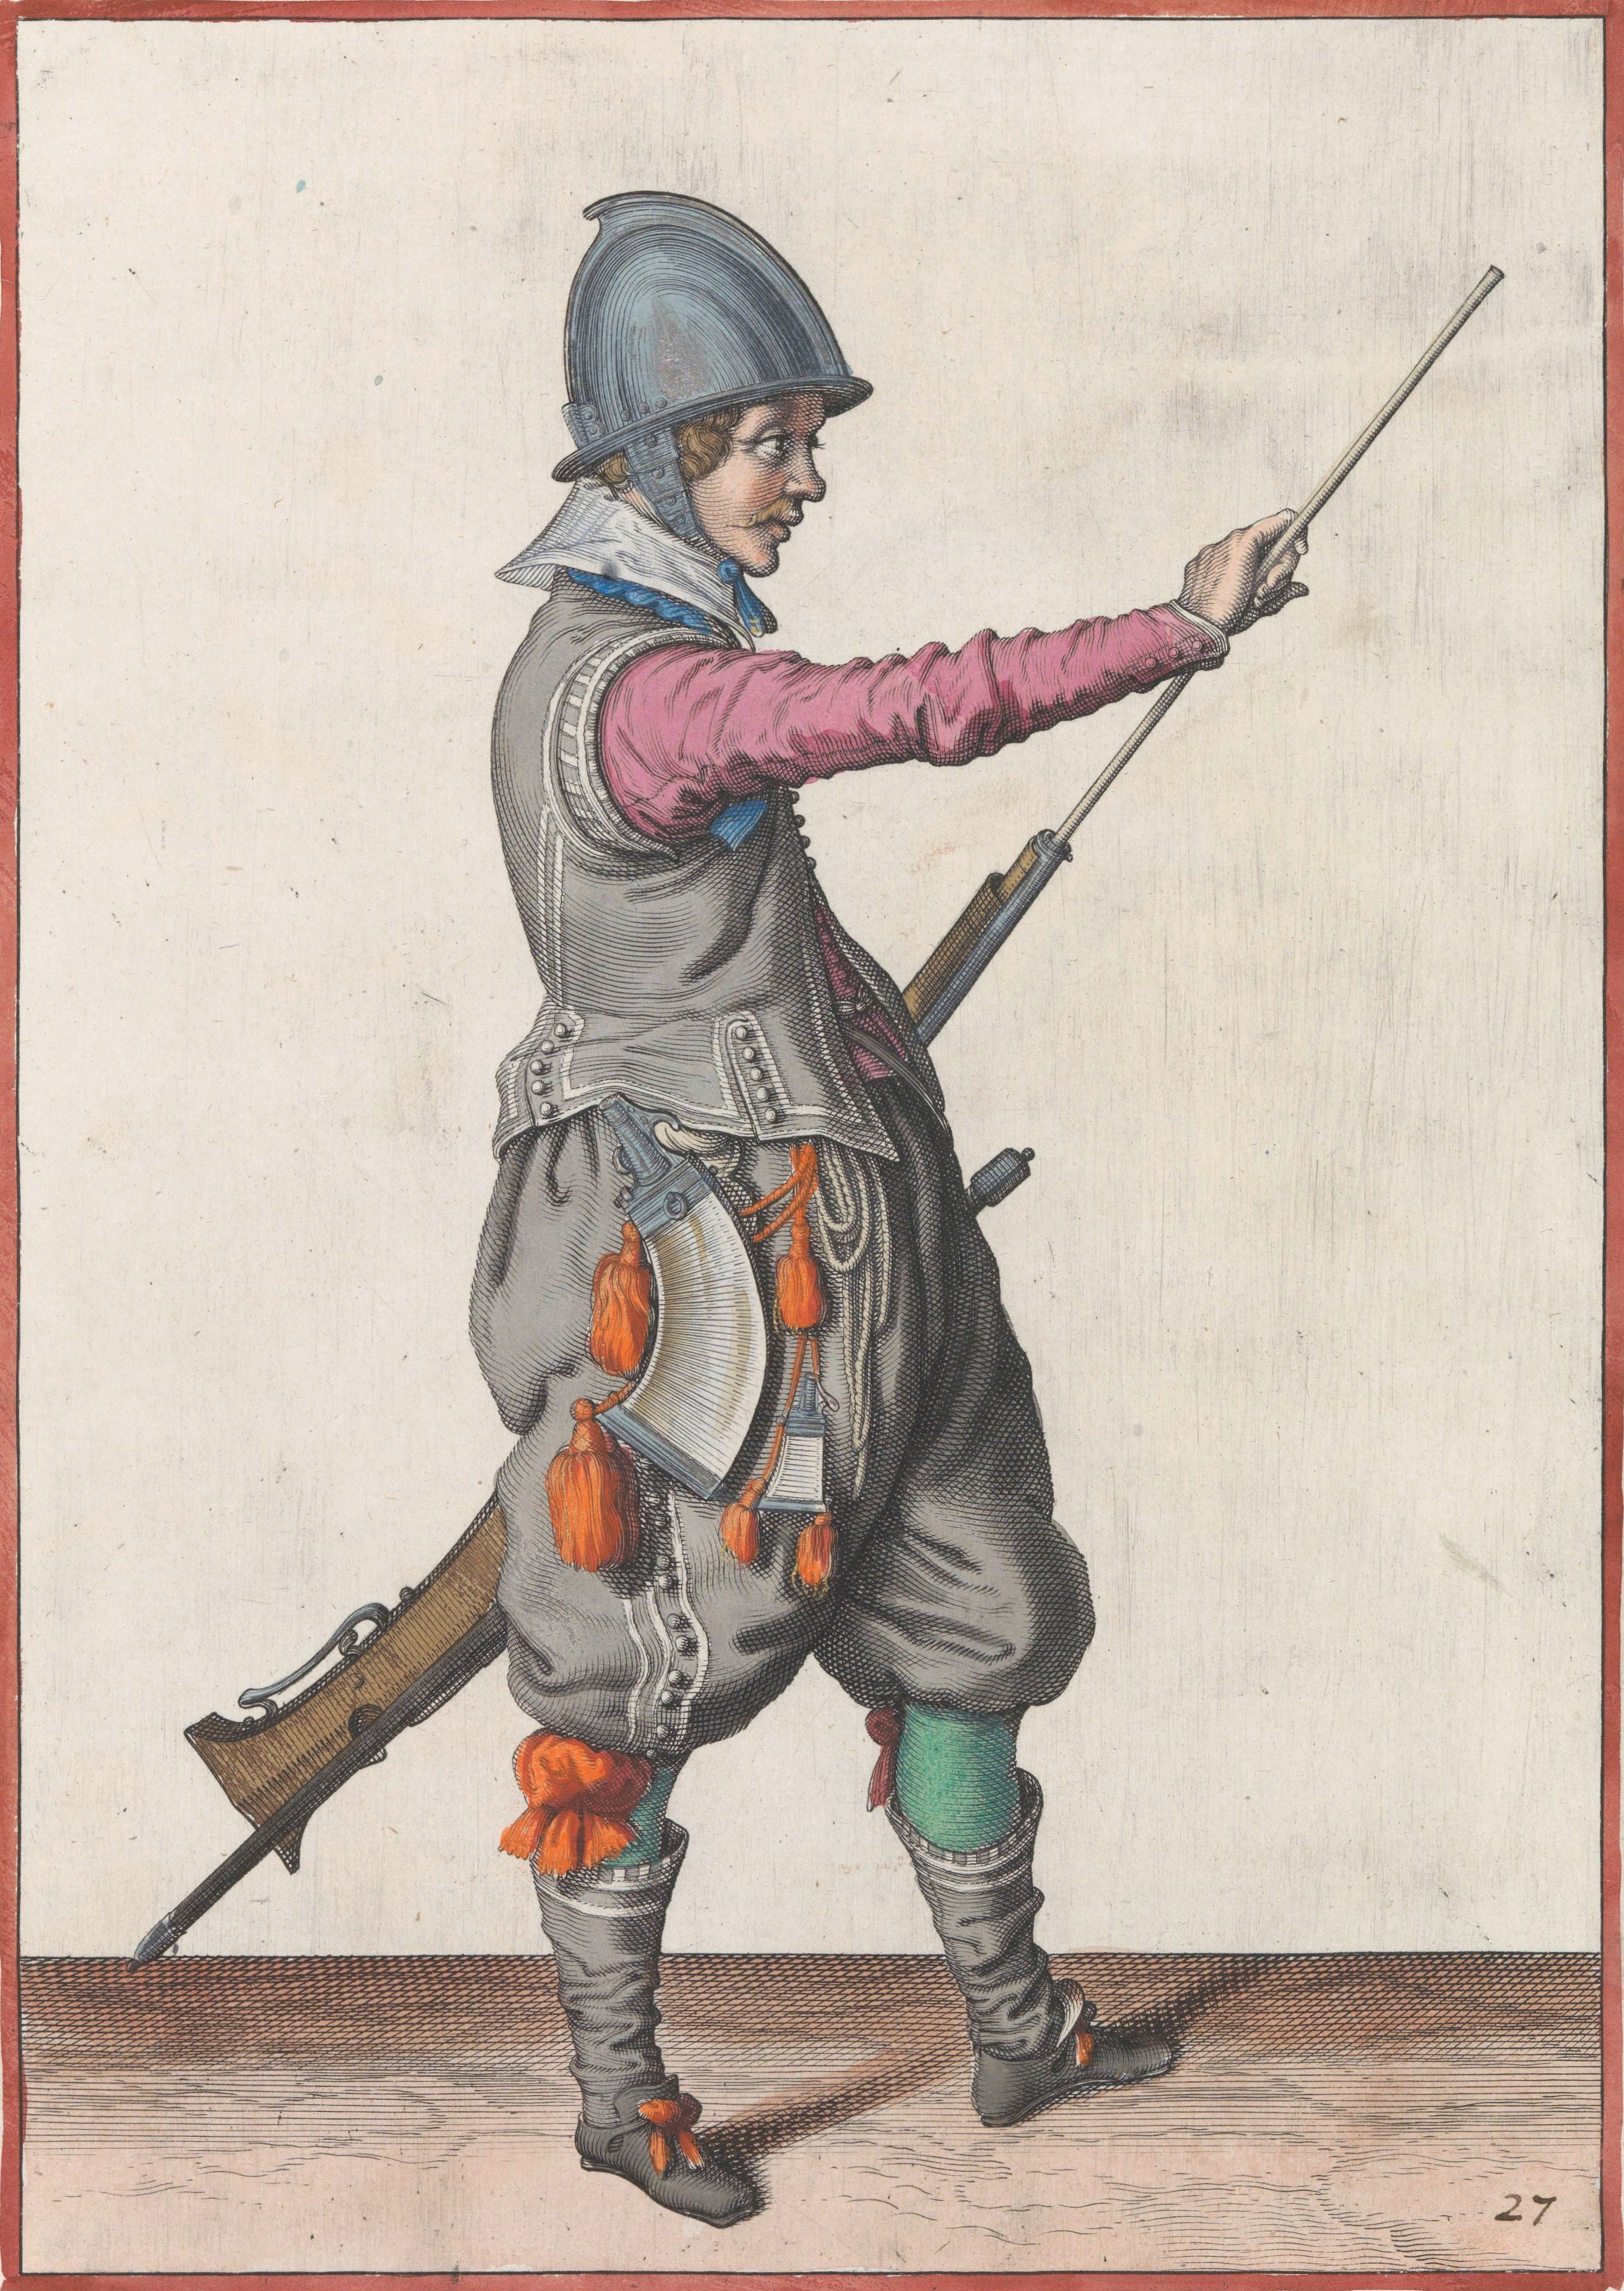
My inspiration comes from some de Gheyn engravings. I wanted to try an open leg cuff, and no fly closure. If you take deep tucks close to the fly closure, it's supposed to stay closed sufficiently. If this doesn't work out, I will go back and add a fly flap as seen in the c.1600-1605 Trunkhose, p. 74 PoF4.
 |
 |

For the pattern, I used the Bara tape method and followed the Burguen/Anduxar 1618-1640 - Calcon/Breeches pattern from Mathew Gnagy's Modern Maker Vol. 2 book.
These pants are entirely hand-sewn. I find hand sewing to be relaxing, but it does take a bit longer (I'm not fast). I decided to try making the breeches unlined. It changes the construction process a bit as I needed to deal with the raw edges. I mostly handled this by cutting a generous seam, then rolling the edge under when top stitching. For the leg openings, I got a little bit fancy and used a silk interfacing to finish the edges, because there is a slight curve to the cuffs that I didn't think would do well double rolled.
 |
 |
Besides this, the construction and assembly were fairly straight forward, except for one step. I found myself obsessing over how to connect the waistband to the pants.
For skirts, I have traditionally taken a finished waistband and whipped or otherwise sewn the skirt body to the waistband at the lower edge (sometimes with an extra strip of wool in the top of the skirt to pad the pleats). This has the advantage of creating a single hinge point, which seemed to help spread the gathers out instead of flattening them. (A)
For pants, I have traditionally used the sandwich technique in which the raw edges of the pant legs are gathered, then sewn between the waistband and waistband lining. (B)
In trying to find historical examples, PoF was difficult to make out details, but 17th Century Men's Dress Patterns has details about the pants from the Cotton suit. For these pants, the pants lining continues to the top of the waistband where both the lining and the waistband are finished with a woven tape. (C)
If I translate this to having no lining, it's likely to be the sandwich technique, but with a woven tape on top. I might offset the bottom of the waistband lining a little to reduce the thickness at that point. (D)
Here's my quick attempt to sketch these out.

I tried method B as it was the quickest and the waistband pattern I used included seam allowance. However, the seams end up quite thick and I realized that it's really hard to sew eyelets or button holes through all that turned under seam allowance.
After the first try-on, it was clear that a few adjustments were needed. The front opening was huge, the pockets a little too low and very large openings, plus the leg cuffs were open too far and rather large.
 |
 |
So, I re-sewed the waist (method D, except I couldn't really offset the bottom waist seam), using another strip of the same silk I used for the cuffs. It was much easier to make the eyelets and I'm happy with the final result, even if the silk edging isn't completely even on both sides (note to future self: this is what happens when you are too lazy to mark the seam line and just wing it!)
I also closed up the front opening, pockets and legs. Here's the finished product. I made a make-shift bum roll to see what the pants look like with a little padding around the waist. Can you tell the difference?
 |
 |
 |
 |
The profile looks better and I no longer have the odd flare at the knees!
To continue the idea of summer wear, I'm hoping to move on to a simple linen cassock or coat as the next garment I make. The jerkins shown here seem to be semi-fitted with no waist seam. The one with green sleeves appears to be an even looser fit and I would commonly consider it a cassock, but the different garments could all be related.
 |
 |
 |


No comments:
Post a Comment