I've been making smaller painted silk scarves for years, but I'd always wanted to try something larger. With the encouragement of a friend, I've now made several banners. I generally use a resist method (habotai) and modern, heat set dyes.
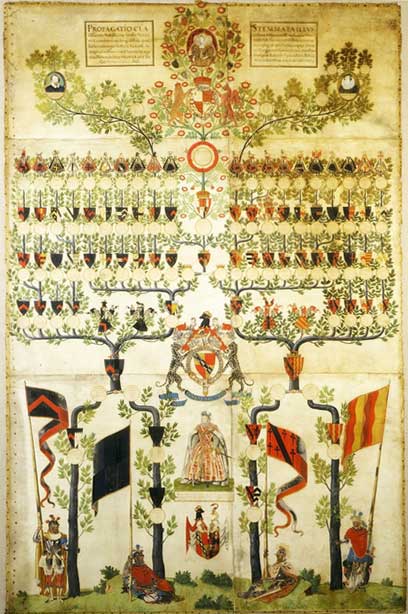
These designs are based on historical examples. From looking at many examples, the square or rectangle shape banners mounted from the top seem to be used in religious context. For what I was interested in, I based my initial designs on examples from Banners, Standards, and Badges (see a digital copy of the book).
Here's a sample.

I first drew out the design on graph paper. I used leftover packing paper to draw a full size version of the designs and marked the lines in marker to make them more visible.
I had intended to use pre-hemmed scarves, but my friend convinced me to try (and lent me fabric to do so!) using silk yardage. This was also the first time I tried colored resists to draw the lines. It was quite a bit of tedious resist drawing, but I think it turned out well.
Here are some in progress pics and the finished (and hemmed) banners.
 |  |  |
For this one I did use a pre-hemmed silk scarf. My friend encouraged me to try adding shading, so I first painted a silk scarf of Tudor roses with variations of shading. Then, I moved to the full banner.
 |  |  |

It's been fun to make banners, but the most fun is applying the paint/dye. This is when your design really comes to life. However, there is a lot of other work to get to a finished banner, including washing your fabric, planning the design, mounting the fabric (assuming you already have a frame to use for stretching), transferring the design to the fabric, applying the resist (requires patience and a steady hand!), hemming, heat setting the dye, washing the excess dye out and ironing. I've generally used an iron for heat setting, but for these larger pieces, it makes sense to use your dryer.

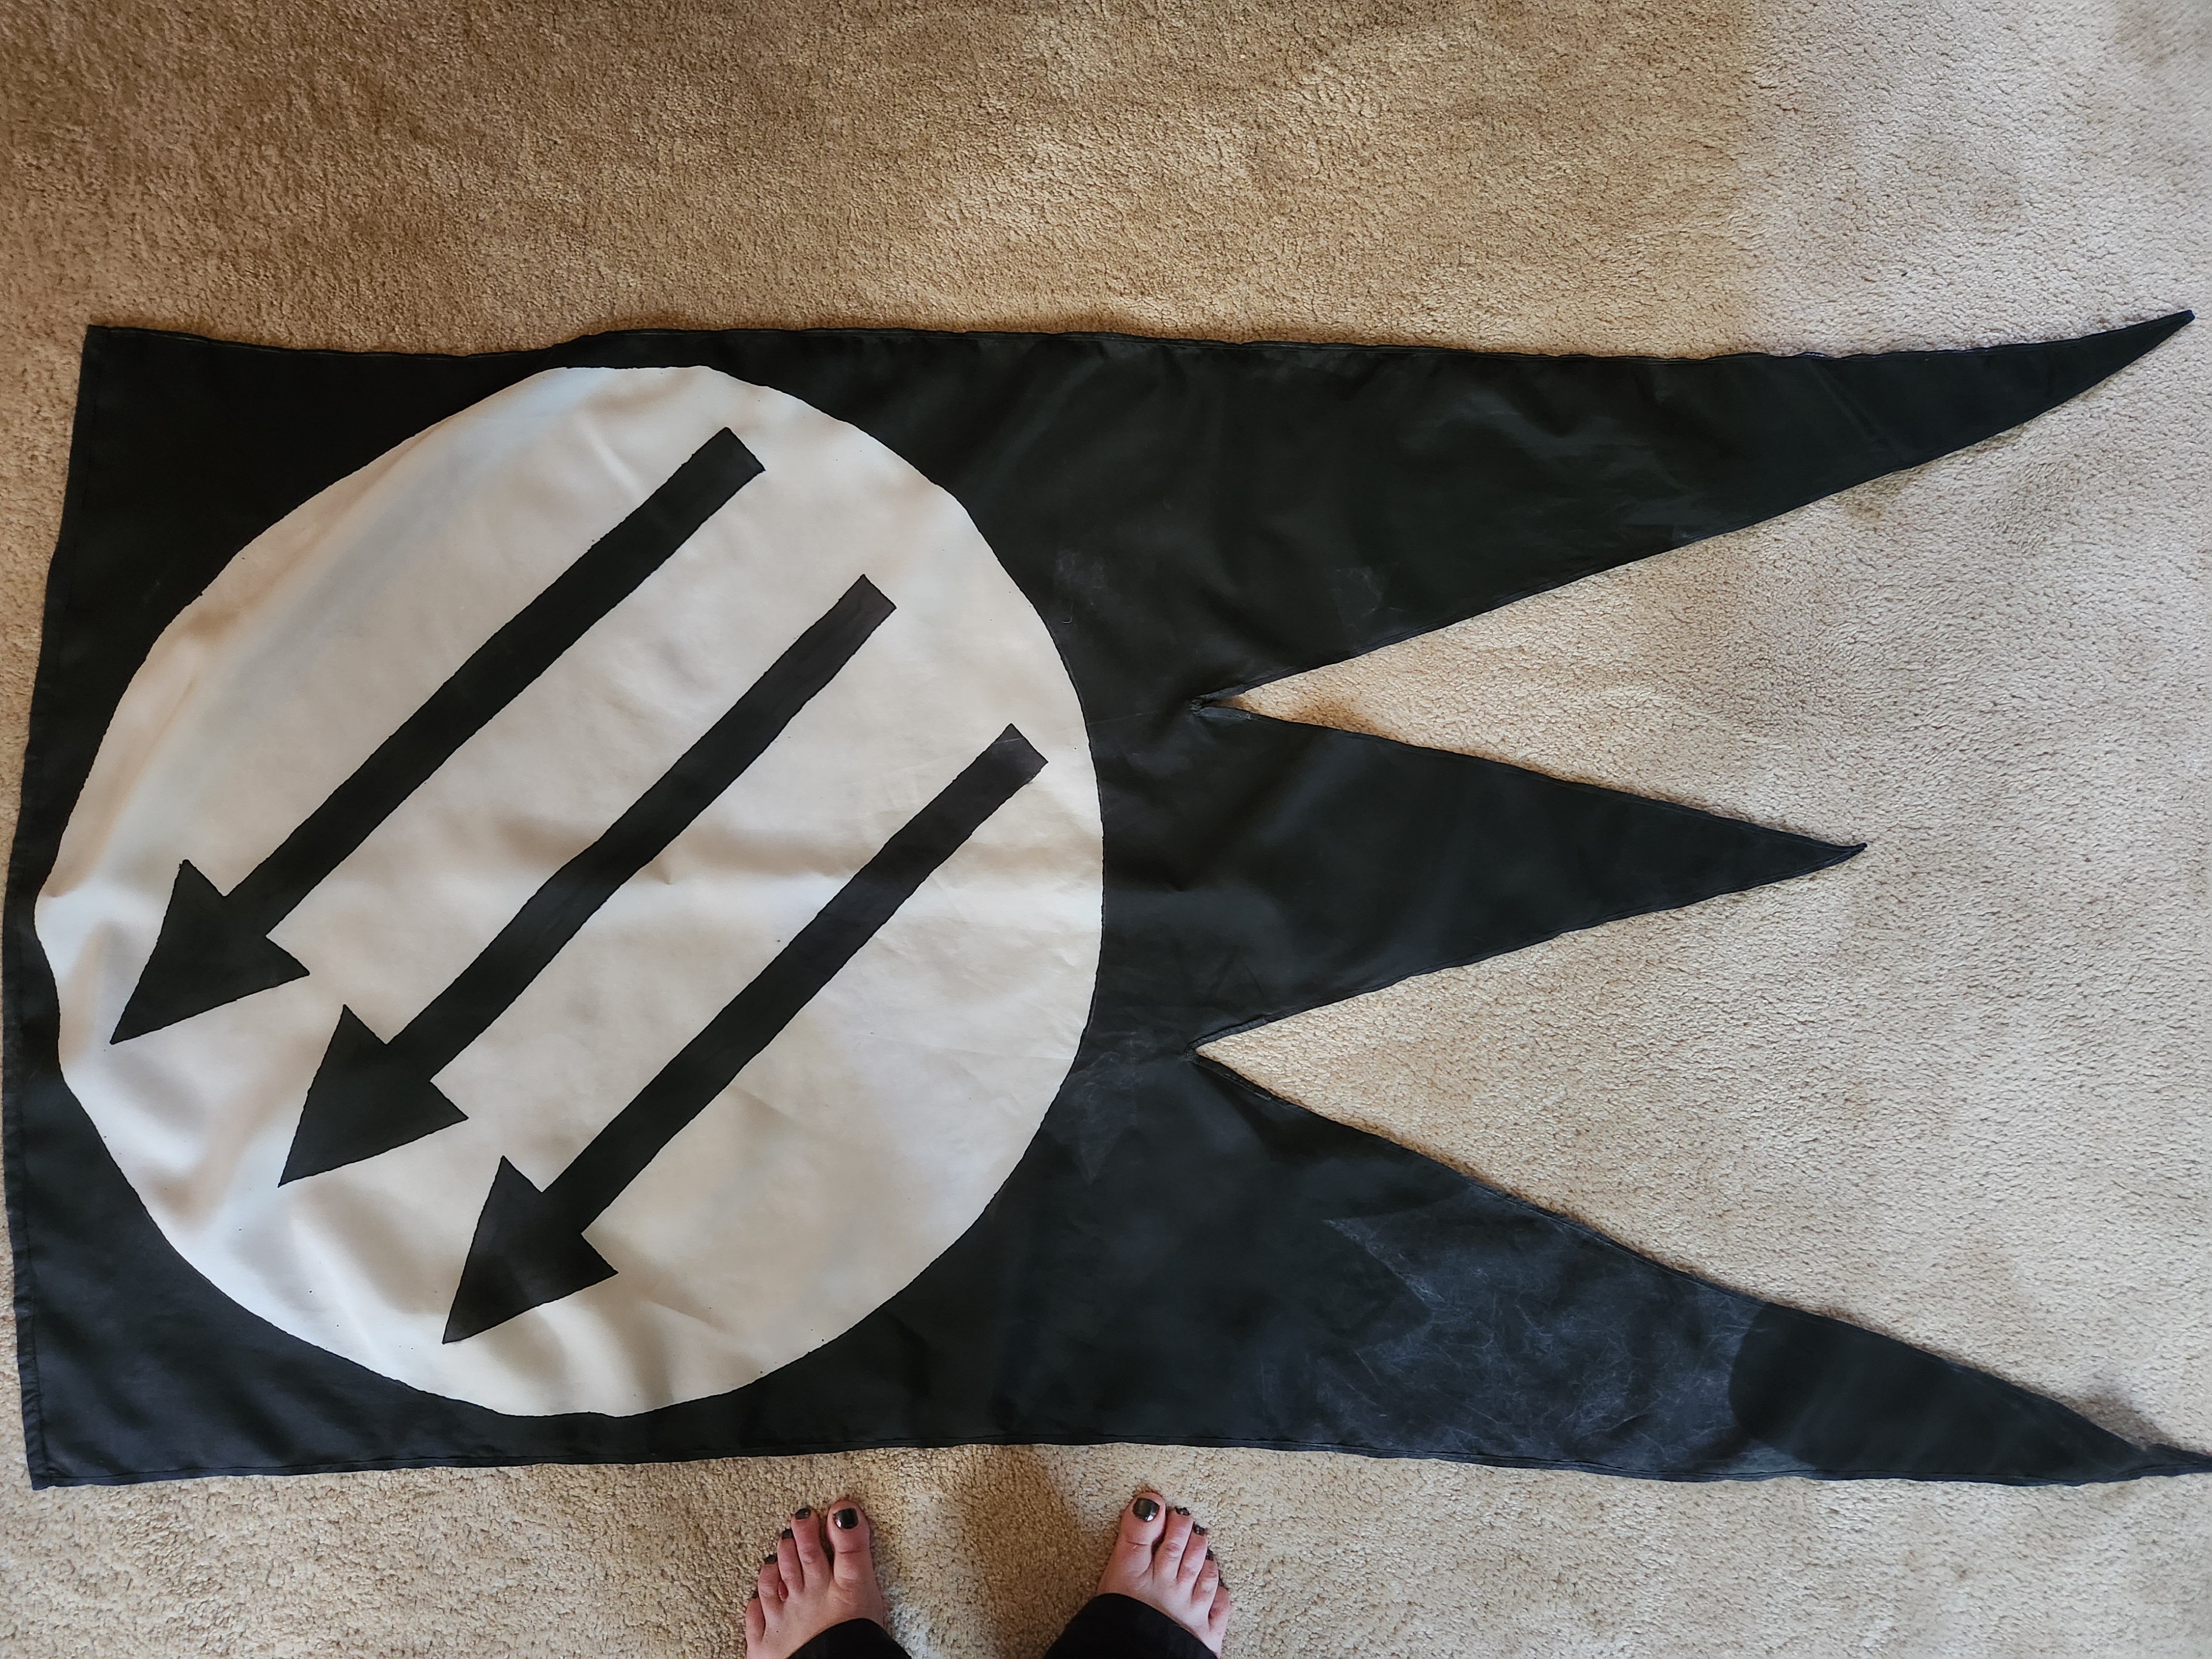
A another friend recently asked me to make an antifa banner. This is the largest one I've done! I'm generally happy with how it turned out, but the heat setting was not consistent, so the black is a little blotchier than I would like. (Feet are included for scale)
After cutting out and hemming all those tails, I was left with some triangles, so I ran a little experiment on heat setting. Please note that the the top two triangles had two coats of black applied; the bottom two only had one coat of black. From top to bottom: heat set in dryer on high heat for 60 min, heat set sitting in the sun for 60 min, heat set using iron, heat set in dryer on high heat for 60 min.
The best and most even is the two coats of black heat set in the dryer. Using the iron on large pieces tends to leave some iron marks or unevenness. Putting in the sun is eco-friendly, but didn't work quite as well. You also have to account for the wind if you choose to use the sun.
The color differences won't be as noticeable with lighter colors.


No comments:
Post a Comment